Figma to Presenta importer
This document outlines the best-practices as well as the limitations you have to be aware when importing a Figma document into PRESENTA Template.
Figma vs PRESENTA
Figma is a powerful design editor with a lot of smart features meant to serve their rendering and prototyping engine.
PRESENTA is a document generation service for automation purposes. It has its own rendering engine.
Both engines are very different.
The Figma-2-PRESENTA converter is a PRESENTA platform feature that allows to transform a Figma Document to a PRESENTA Template. Its purpose is to give users the typical features of a modern design tool and at the same time providing automation capabilities from PRESENTA Platform.
Understanding the differences is key to get the most out of both tools.
General tips
The Figma document
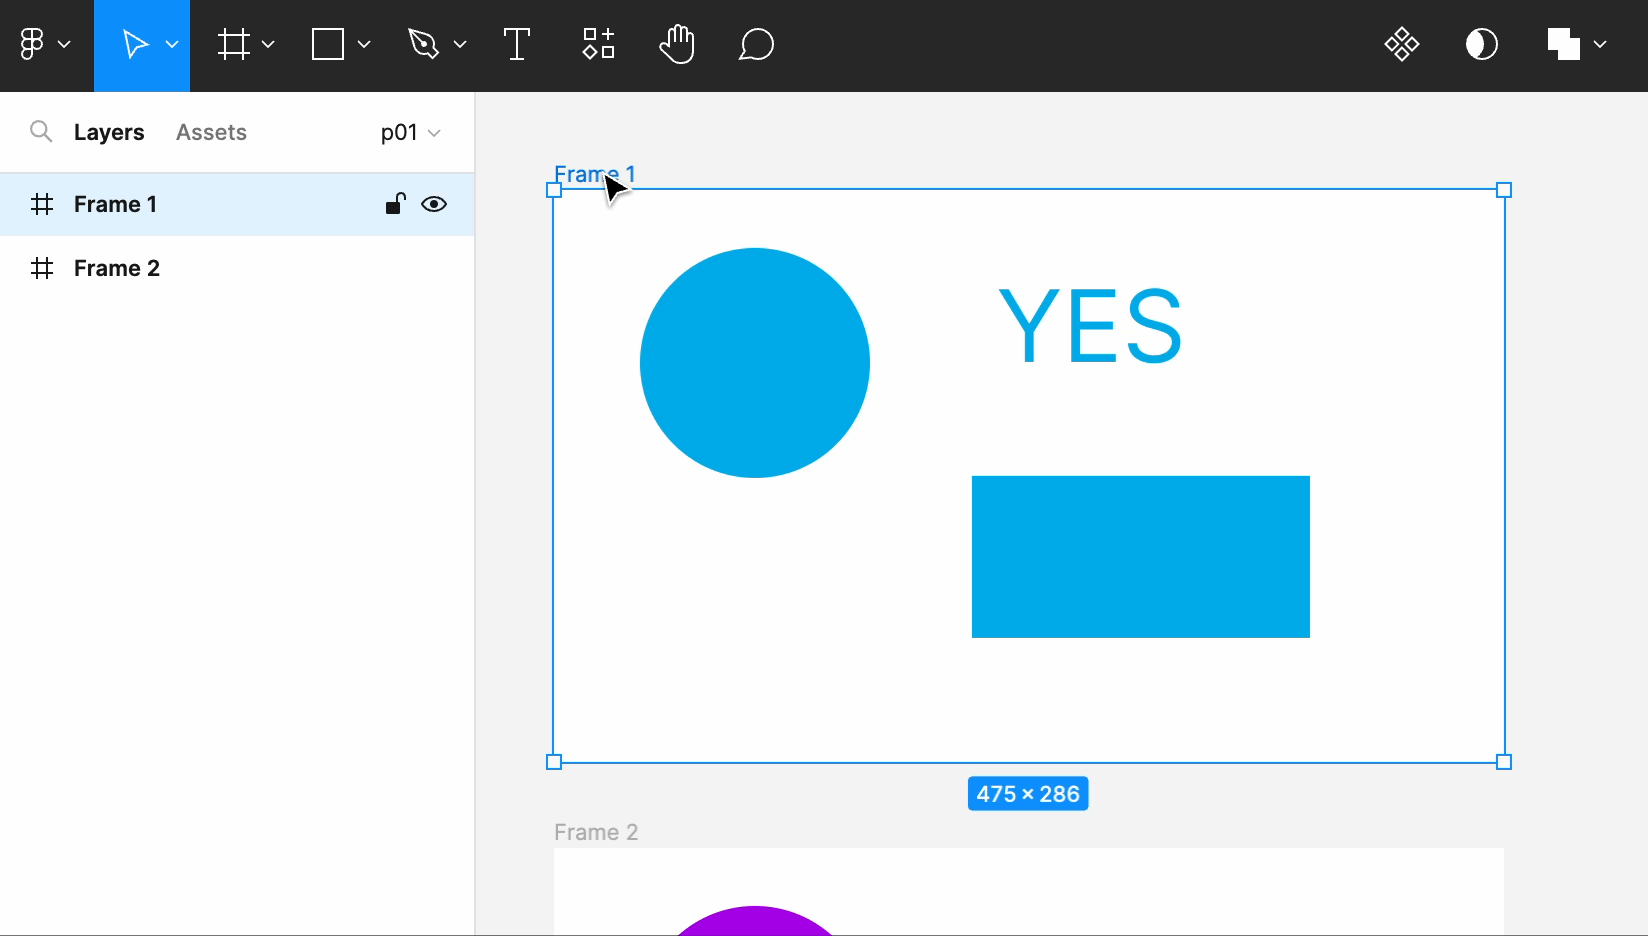
When importing a Figma document, all the Frames in the first Figma Page will be imported, becoming Frames of a PRESENTA Template. For instance, the following Figma document will be converted as PRESENTA template with 2 frames. The name of the Figma frame will be used as name of the PRESENTA frame, useful for the Structured Payload Mode.
Note:
The limitation of the first Figma page will change in the future, allowing selecting any pages in the Figma document.
Elements within the Frame
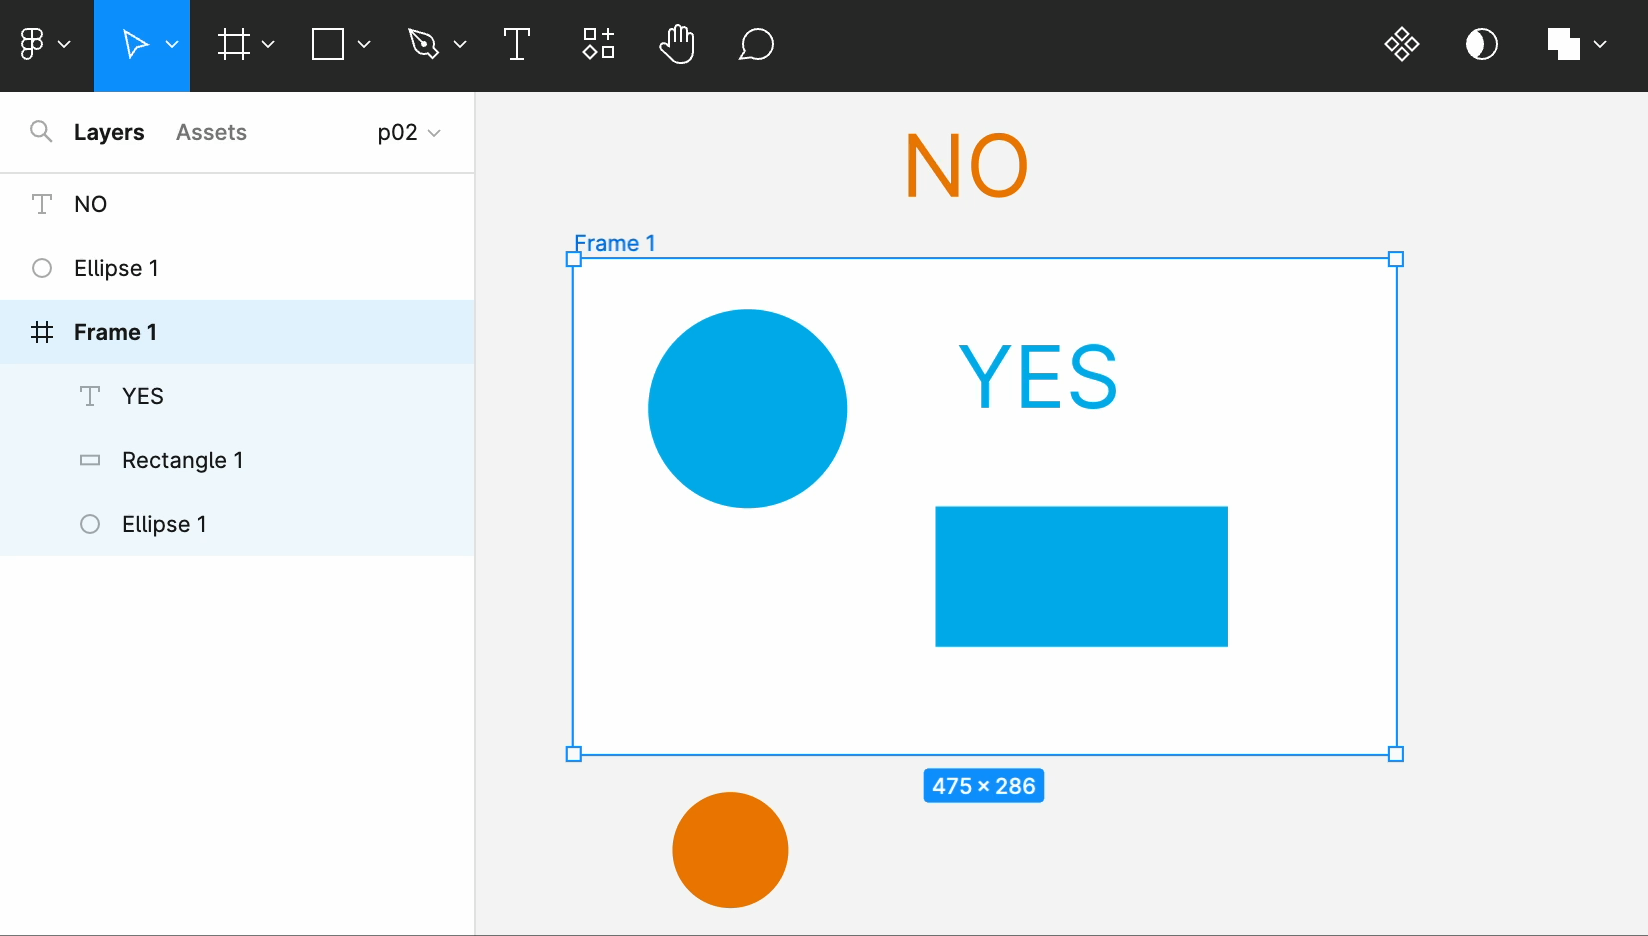
Only elements within the Frame container are considered by the importer:
This is a Feature!
You can exploit it to maintain additional elements, annotations or other not-used elements around the Frame without affecting the import process.
Figma Layers == Presenta Blocks
In PRESENTA there is the concept of Block, an object that can be rendered, such as text, image, graphics or QRCode.
Every Figma layer at the root level of the Frame will be converted as PRESENTA Block.
The name of the Figma layer, properly sanitized, will become the JSON key name in PRESENTA service.
Let's say you have a Figma Layer named My Element, the equivalent Presenta Block will become my_element.
Hide a Block entirely
Every block are visible by default. But a block can programmatically be hidden by using the hidden property with dot notation. Suppose a Block with name my_block, here the payload to hide it:
{
  "my_block.hidden": true
}
Text Element
Every Text Box in a Figma frame will be converted as Text Block in Presenta. It's important to understand the final effect depending of the Text Box position in the scene-graph of the frame.
Dynamic Text vs Static Text
Text boxes have to be in the root level of the Frame in order to be dynamic.
By mention an element "in root level of the Frame" means that it cannot be in groups, components or nested frames
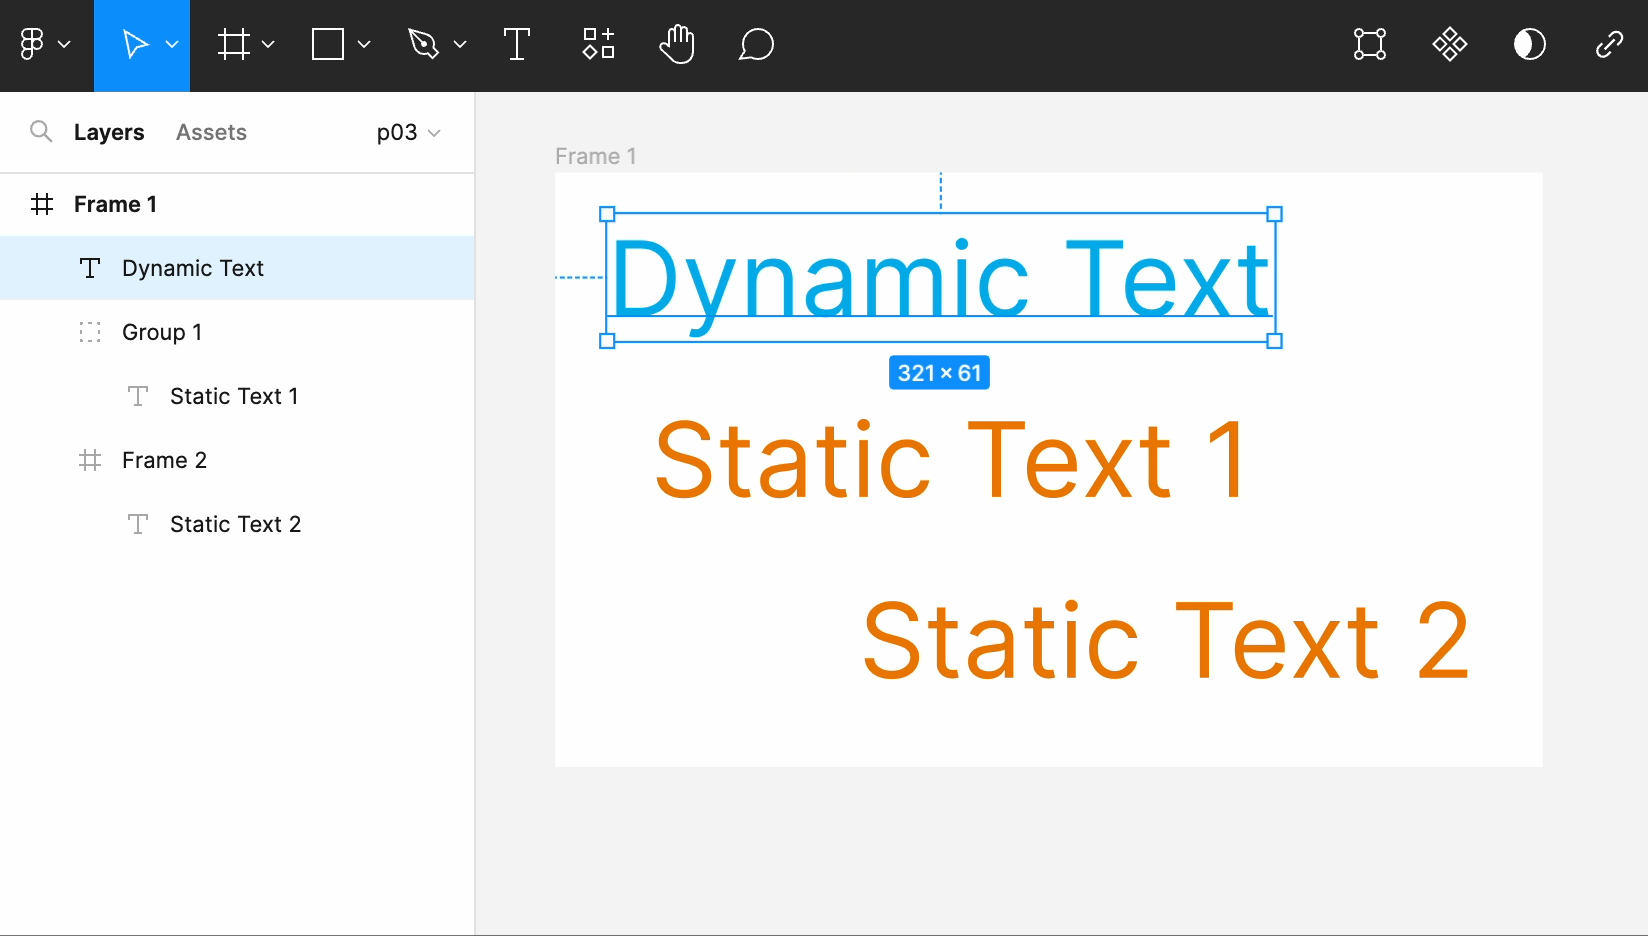
Text in groups/components/nested-frames will be converted as static graphic elements
The following blue text element can be dynamically populated with the JSON key dynamic_text, inherit from the Figma layer name. You can also use merge tags (or text parameters), details later.
The above frame allows to edit dynamically only the blue text element with this payload:
{
  "dynamic_text": "My Custom Text"
}
Text box explicit size
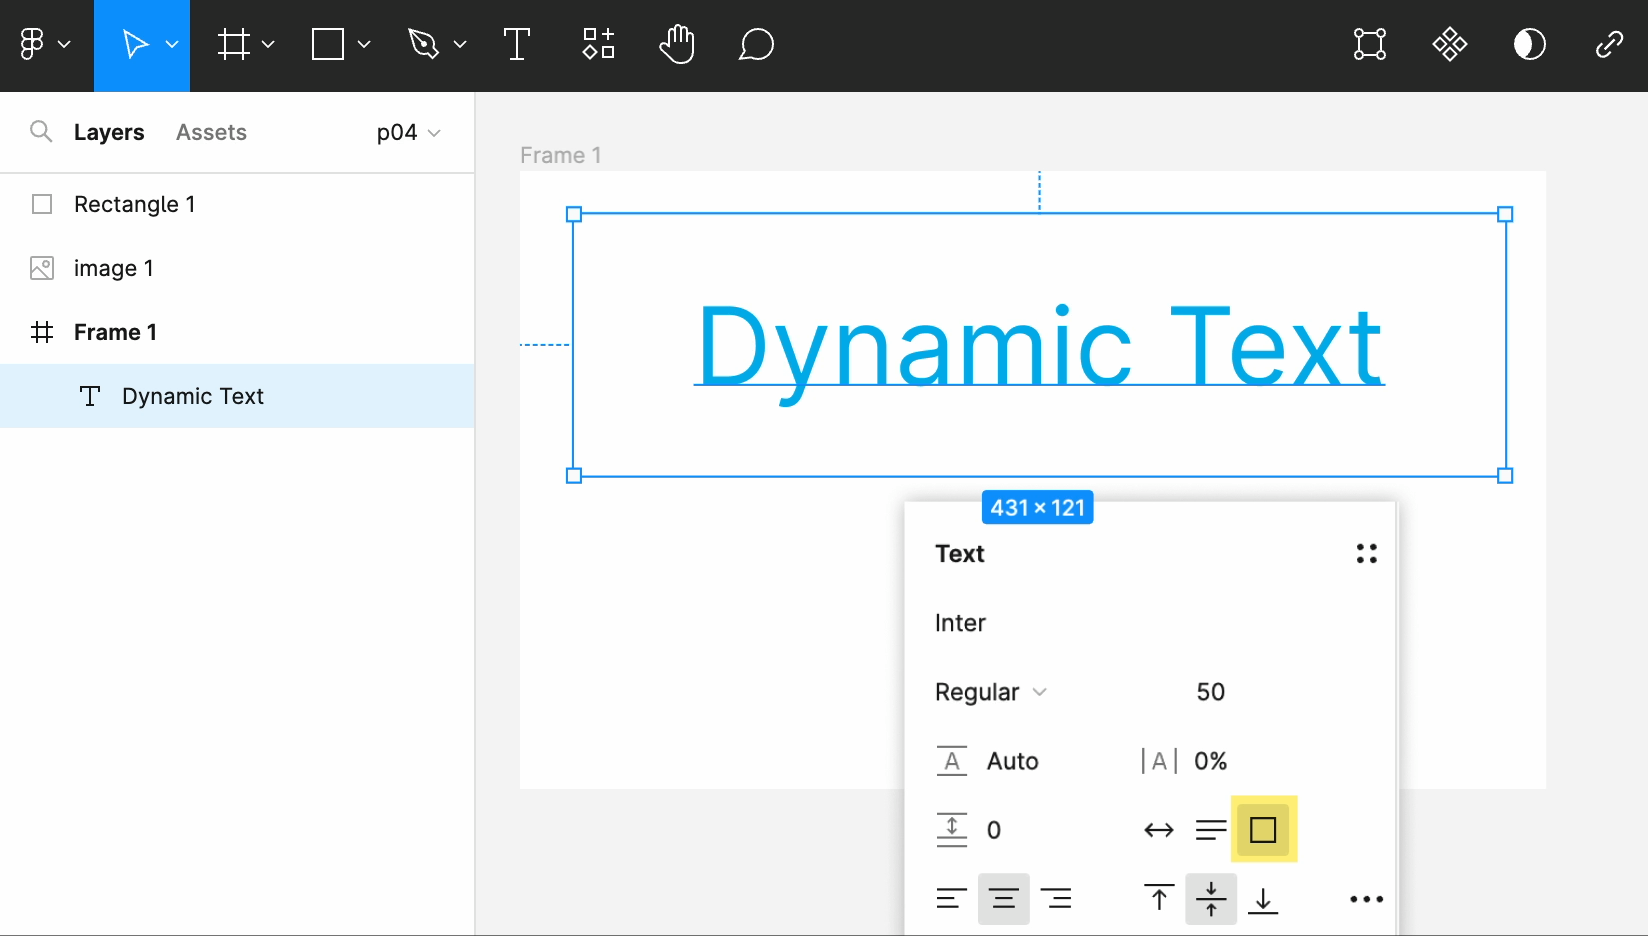
Text boxes requires an explicit fixed size of the textarea. It's not strictly a requirement but without an explicit size, the textarea size will be set according to the text that contains. This can be problematic in dynamic Text box where you'd like to put other text, possibly longer than the default value.
Parameters (or Merge Tags) in Text Box
Parameters in text boxes need to be definet with the following syntax: {{name}}
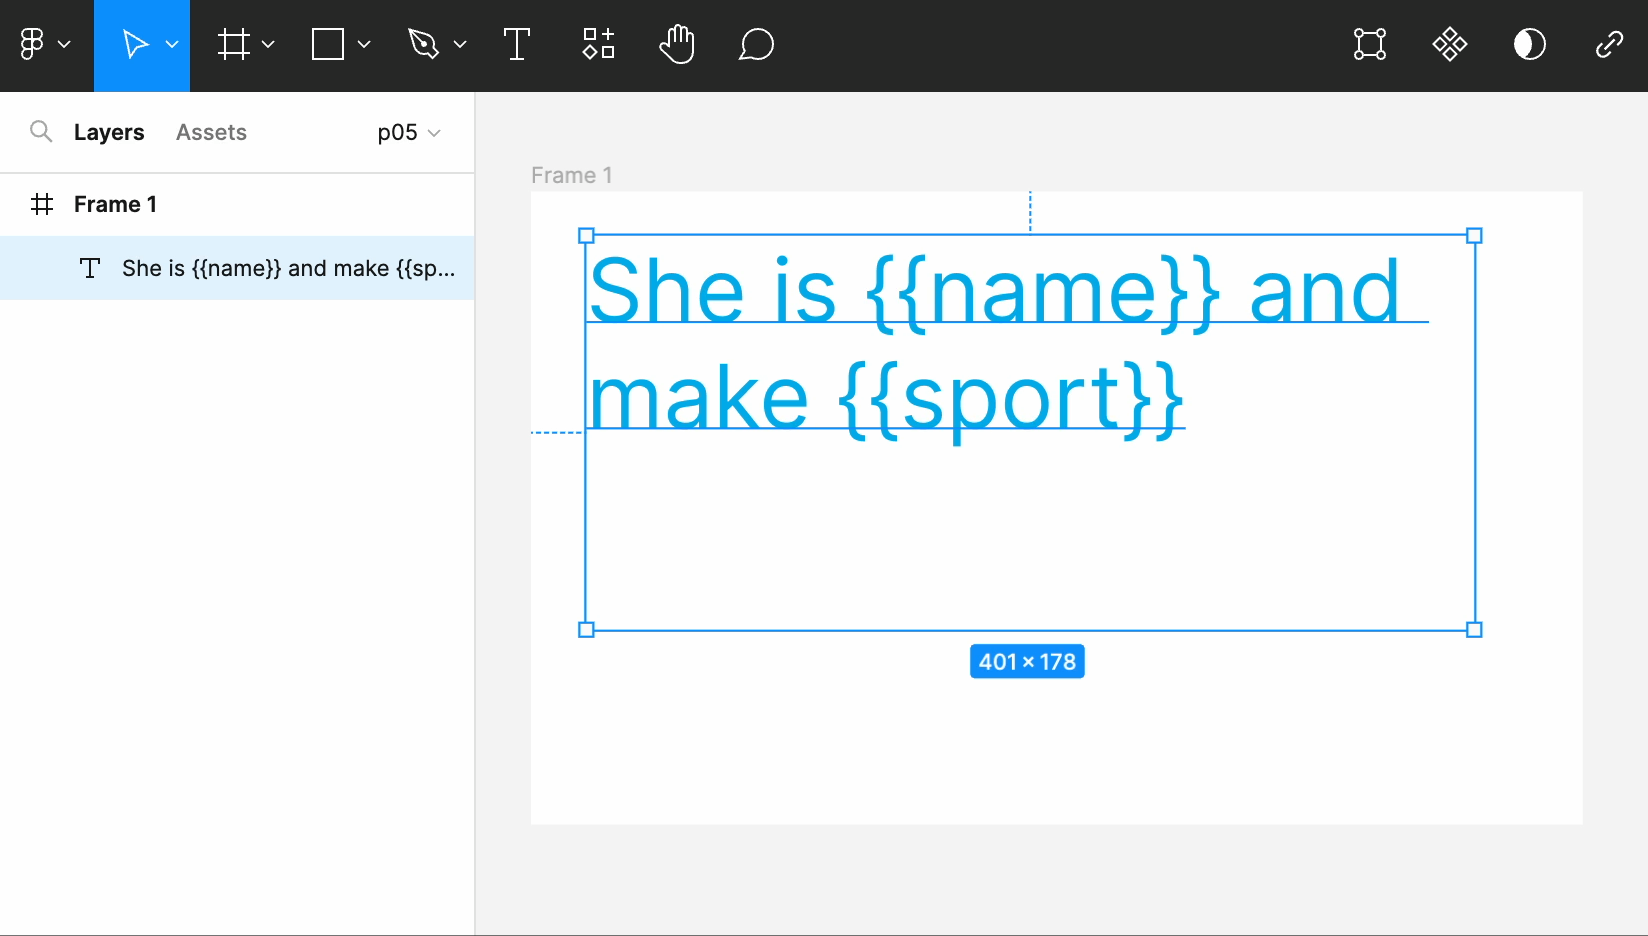
The above frame allow to modify the portion of text with the following payload:
{
  "name": "Jenny",
  "sport": "archery"
}
When using merge tags, the content has to be plain text. If you need to feed HTML content, just rely on the block element, not using merge tags at all. The text box in the previous example can be fed with HTML while the above one not:
{
  "dynamic_text": "Hello <br> There",

  "name": "just plain text",
  "sport": "also here, just plain text"
}
Text formatting
Multiple text formatting in a single text box is supported
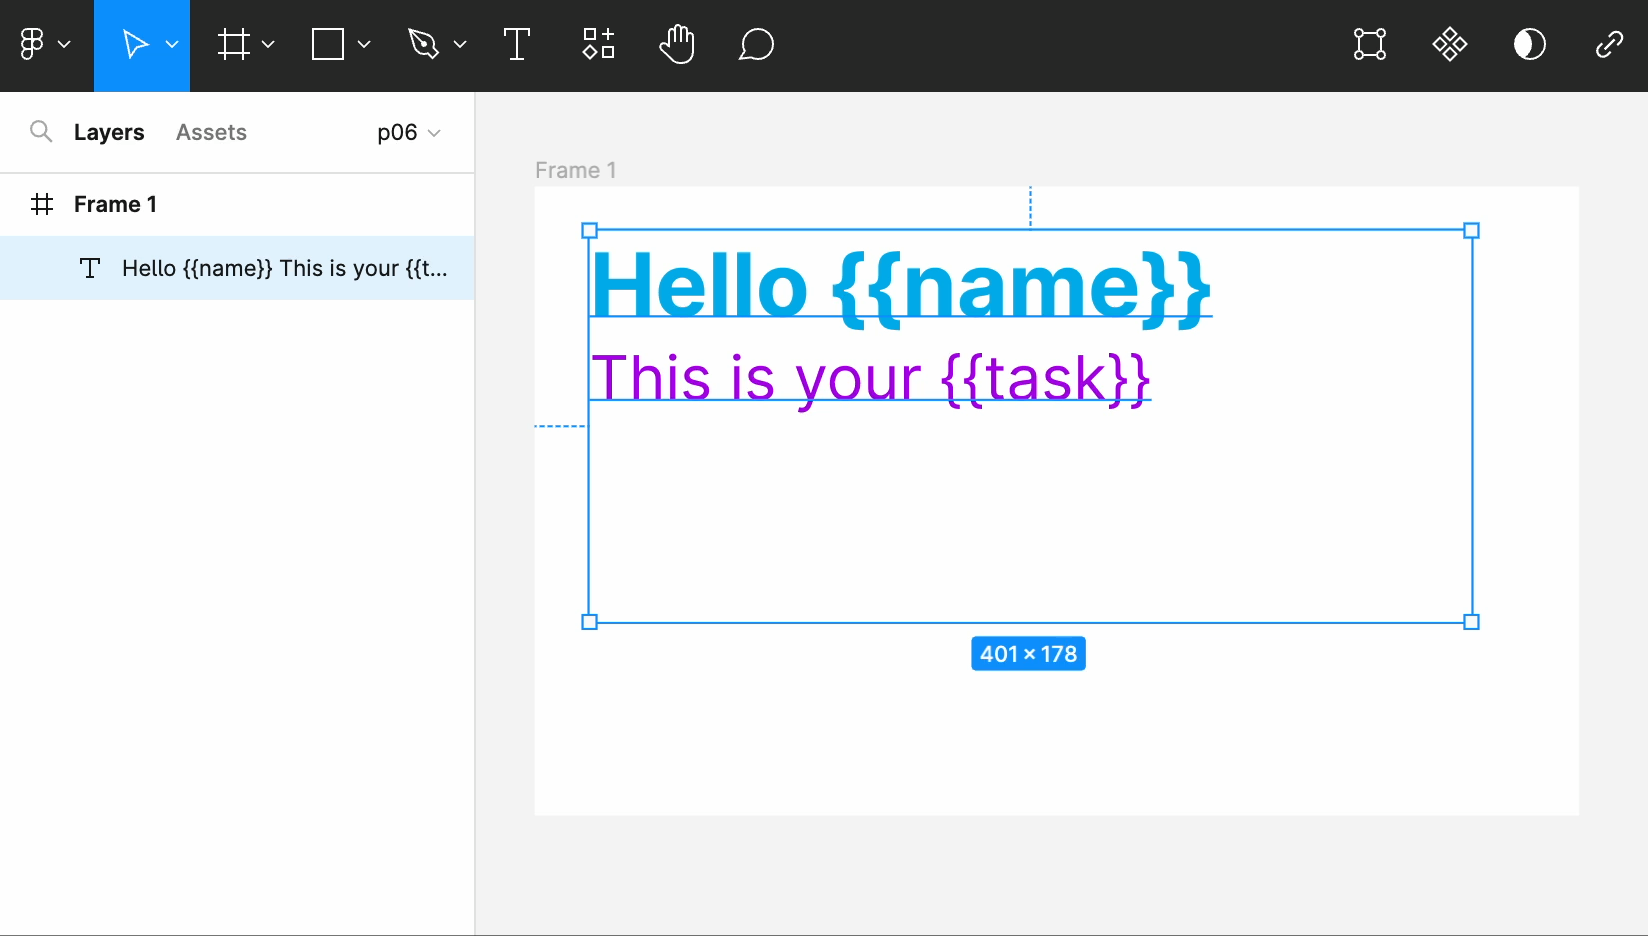
The above frame allow to modify the portion of text with the following payload:
{
  "name": "John",
  "task": "archery"
}
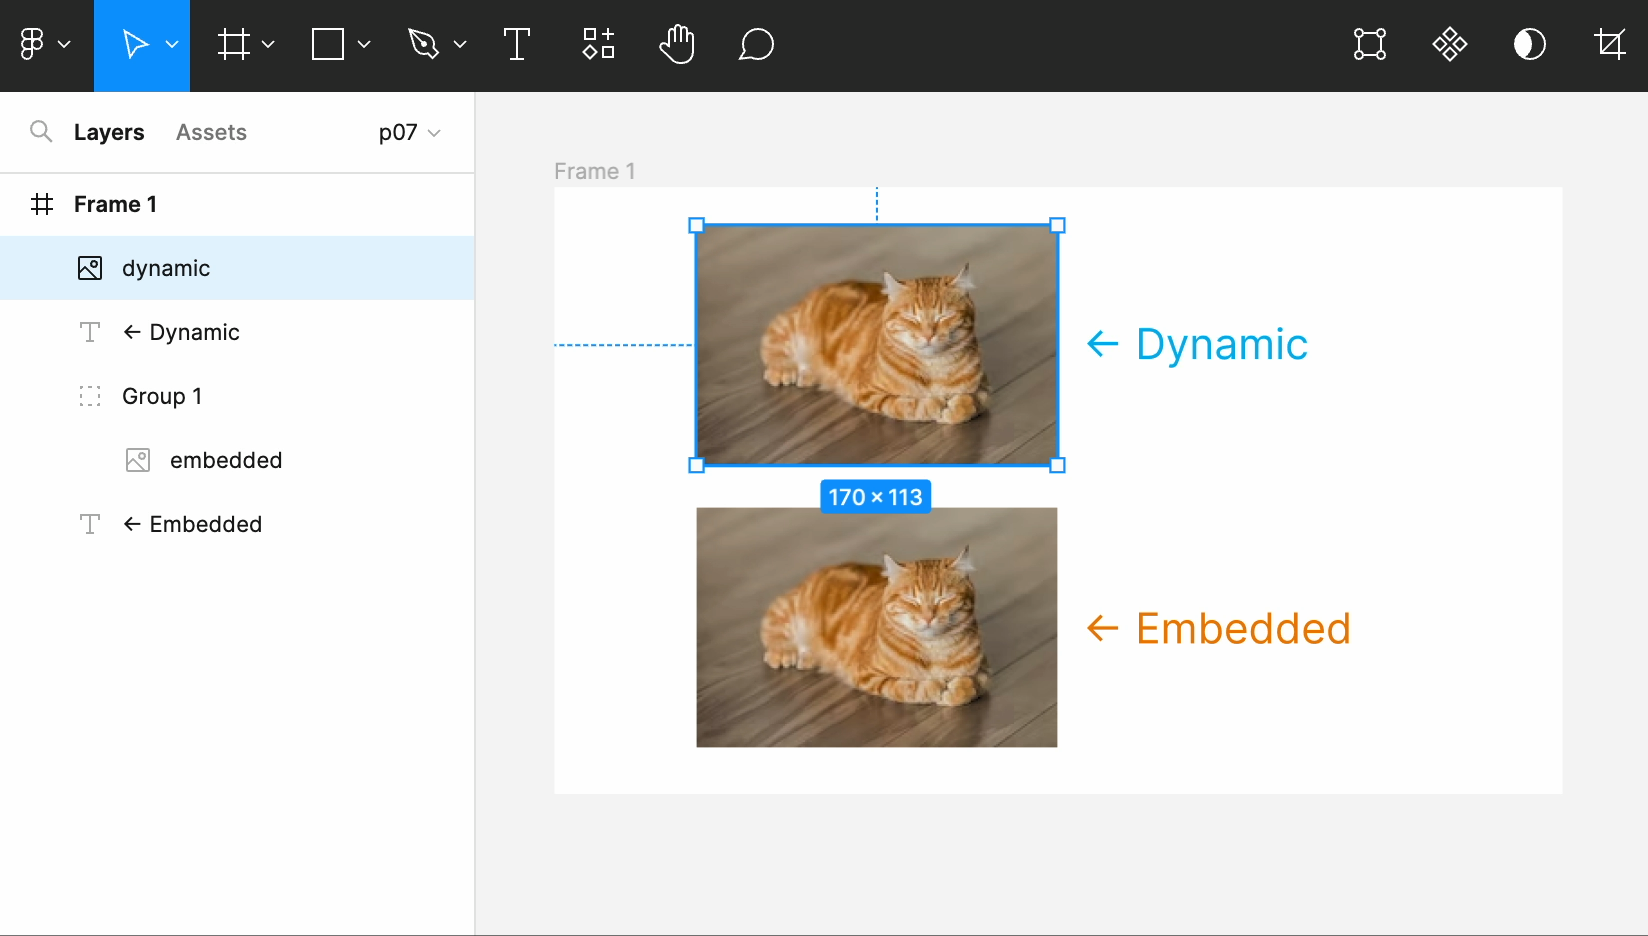
Image Element
Dynamic Image vs Embedded Image
Image boxes have to be in the root level of the Frame in order to be dynamic
Medium/large images are better to be in the root level to avoid importer size limit
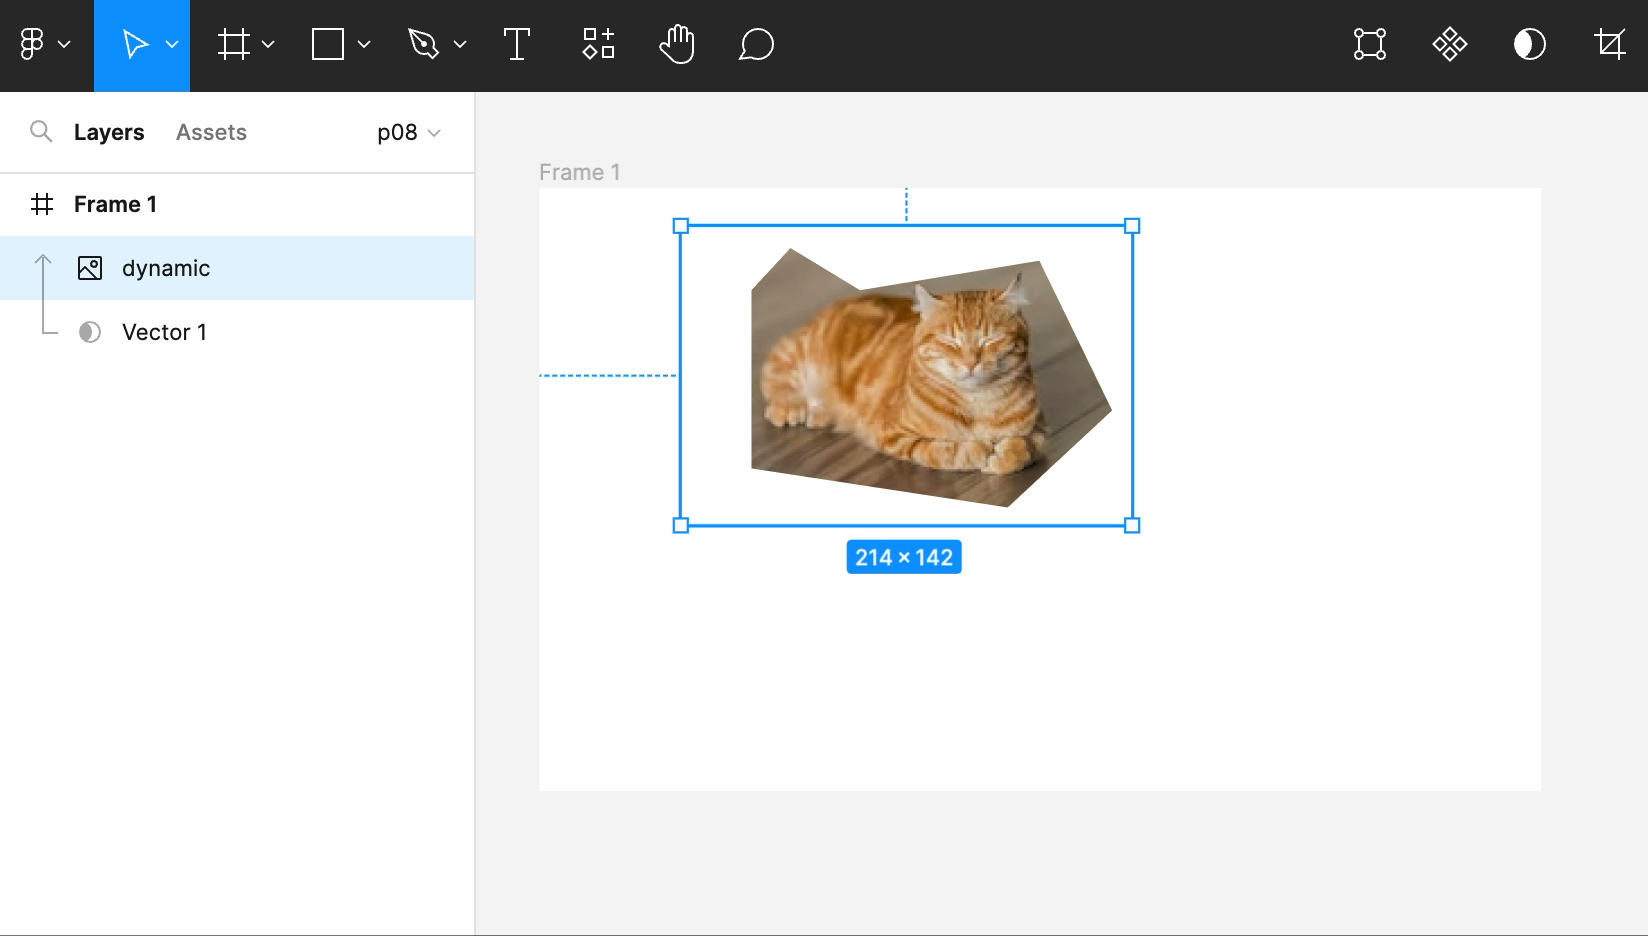
Mask an Image
Image boxes can be masked by one single shape in order to keep its dynamic nature
Smart Blocks
PRESENTA engine includes some smart blocks, advanced functionalities (i.e. QRCode generator) that can be used in templates.
Figma doesn't know anything about them. But you can add them in Figma by using a special trick, a "magic" word in the Figma layer name. Each smart object requires a specific magic word.
Here the supported smart blocks:
$image Block
Name the Figma layer of a rectangle as $image or $image myprop to automatically convert it as Image Block. You get the same effect as just adding an image in Figma. You may use this block to keep the Presenta template more lightweight.
$qrcode Block
Name the Figma layer of a rectangle as $qrcode or $qrcode myprop to automatically convert it as QRCode generator Block.
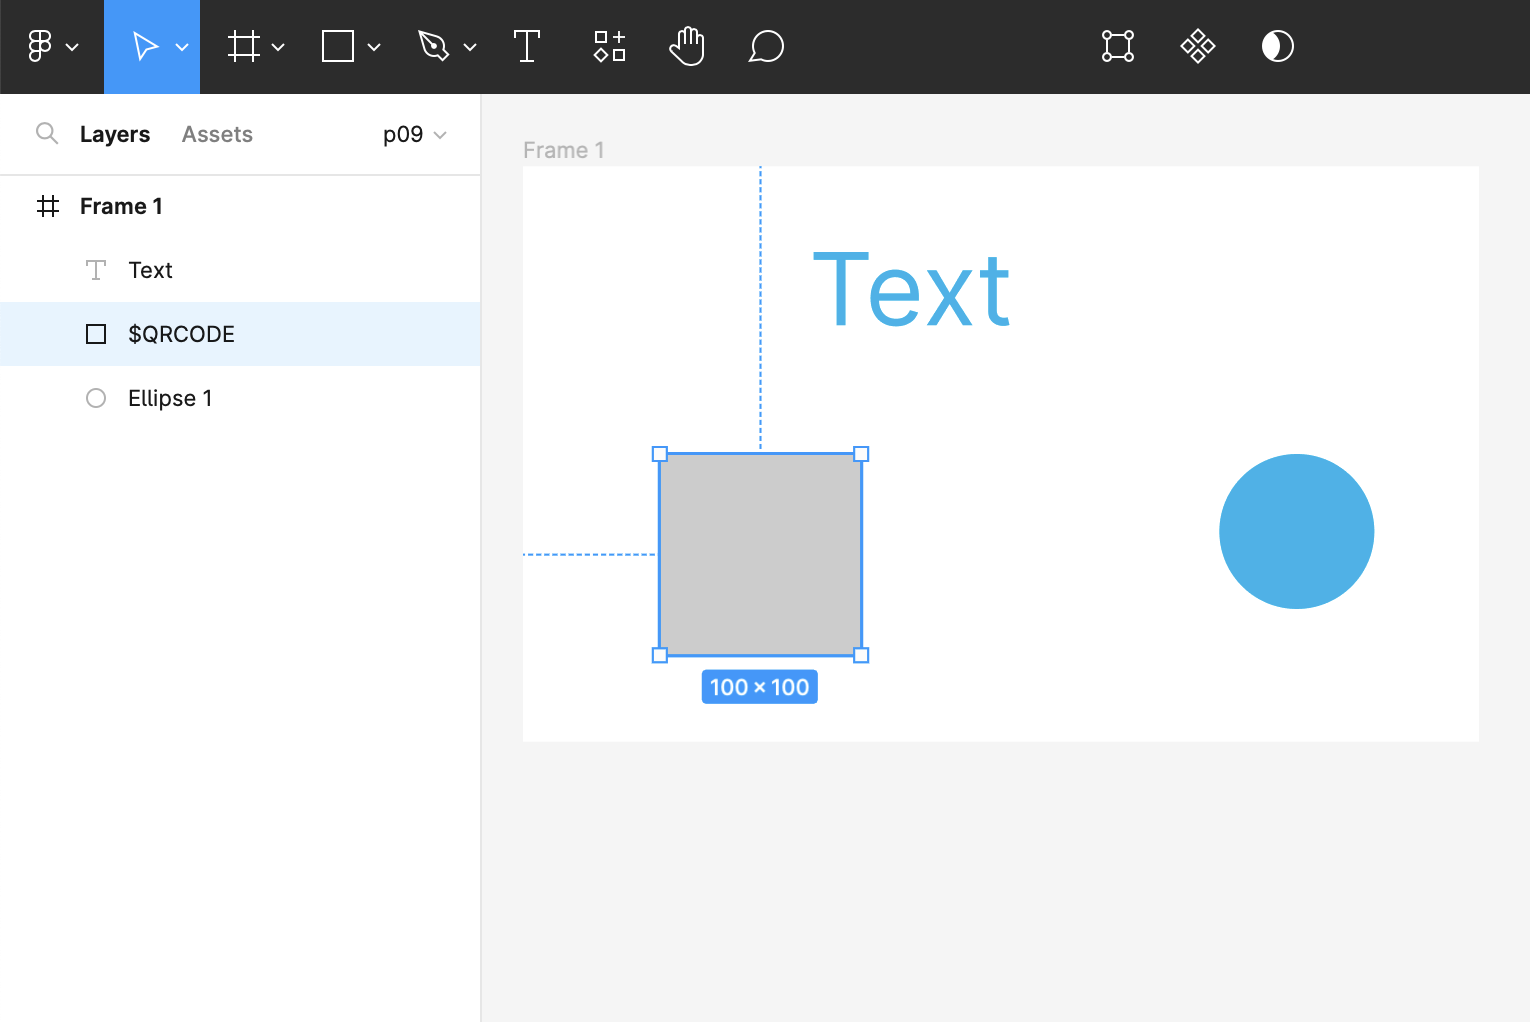
PRESENTA importer will recognise and convert it in a proper QRCode block, preserving position and dimension within the Frame. The key to be used in the JSON payload will be simply qrcode
There're additional property to customize colors of the QRCode:
qrcode.colorassigning any CSS color value for the QRCode graphicsqrcode.backgroundassiging any CSS color value for the background
$plotly Block
Name the Figma layer of a rectangle as $plotly or $plotly myprop to automatically convert it as Plotly chart generator Block.
TroubleShooting
Here a list of possible solutions for specific cases we're aware of:
- The Figma Frame container must have Rotation and Corner radius set to zero in order to be properly imported in PRESENTA.
- The Figma Frame container must be without Effects in order to be properly imported in PRESENTA.
- If there's a bitmap cropped with the Figma Image Crop tool, the image needs to be flatten in order to be properly positioned and resized in PRESENTA.
- In general, try to keep low the number of elements in Figma. A great room of optimization is by grouping static elements into a single group.
Tips&Tricks
The nature of Presenta engine is hackable. This means that is can be tweaked, using HTML, CSS and Javascript, in order to achieve the desired result.