Presenta Playground
Presenta Playground is a powerful tool to help generating, preparing and testing a Presenta template.
Here a recap of the main features included in Playground:
- Convert a Figma document into a Presenta template
- Preview the result using a custom payload, test and download a rendered file
- Configure and save a default payload (that you can override via API call)
- Configure and save custom CSS rules for more customization
- Hack and save the JSON template for advanced customization and workarounds
Note:
You need to click "Update Template" button in order to keep the payload, css and debug tabs content persistent when using the API outside the Playground or when you load the template on a different session.
Working with CSS and Presenta blocks
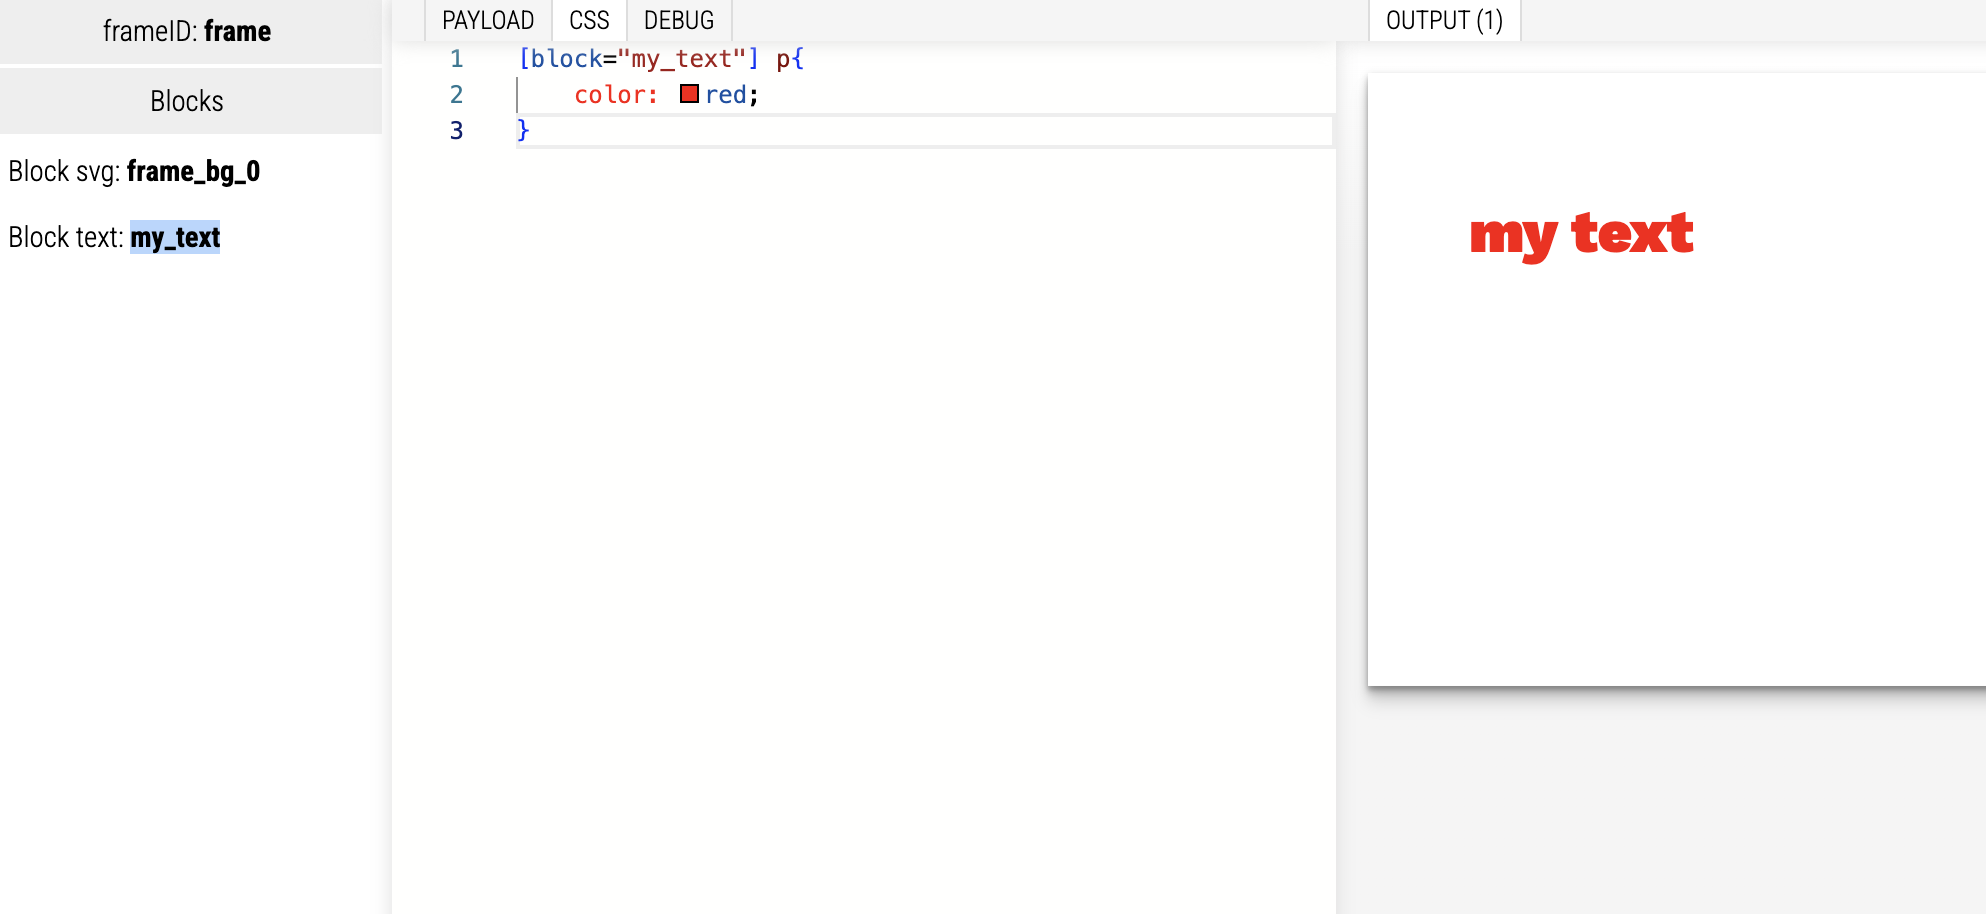
The CSS tab allows to modify some CSS properties related to specific blocks.
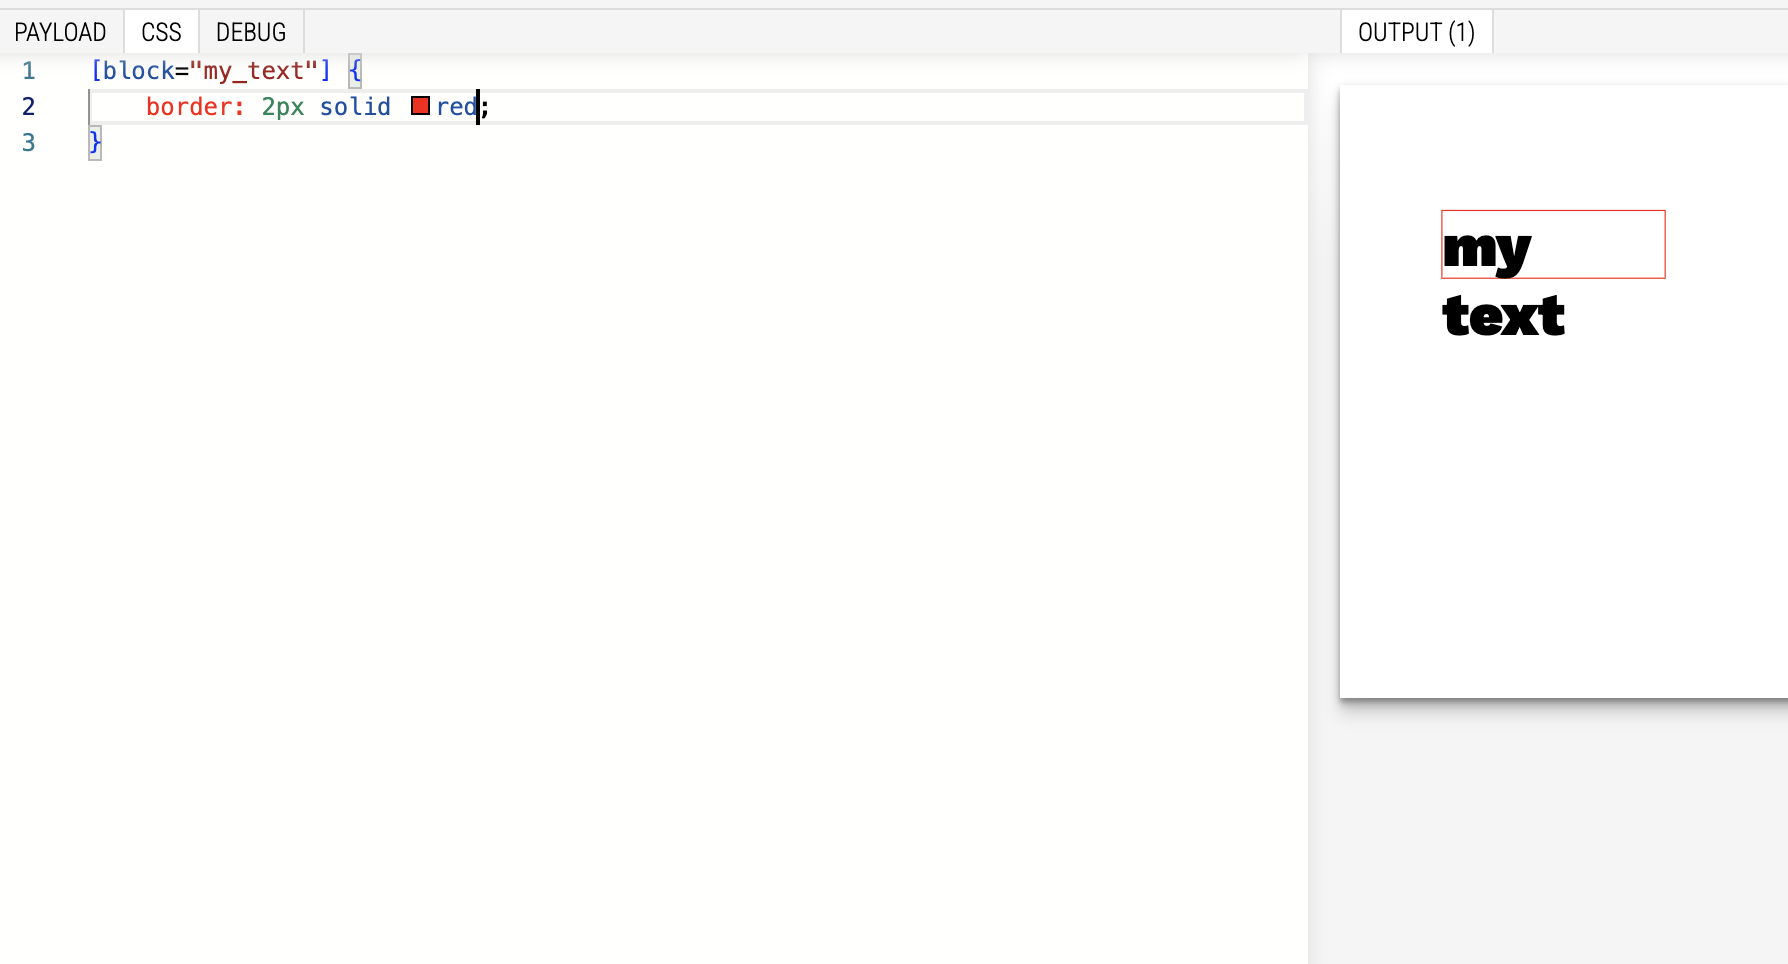
Suppose a text element in Figma with a layer named "My Text".
This element, once converted in Presenta, is identifiable with the key "my_text" in payload. The same key can be used in CSS panel with this syntax:
[block="my_text"]{
  border:2px solid red;
}
Make a CSS property value dynamic in Presenta:
Suppose you have this CSS:
.myClass{
  color: red;
}
You can use merge tags in CSS too, such as:
.myClass{
  color: {{myColor}};
}
Thus, in Payload you can specify any compatible color:
{
  "myColor": "orange"
}
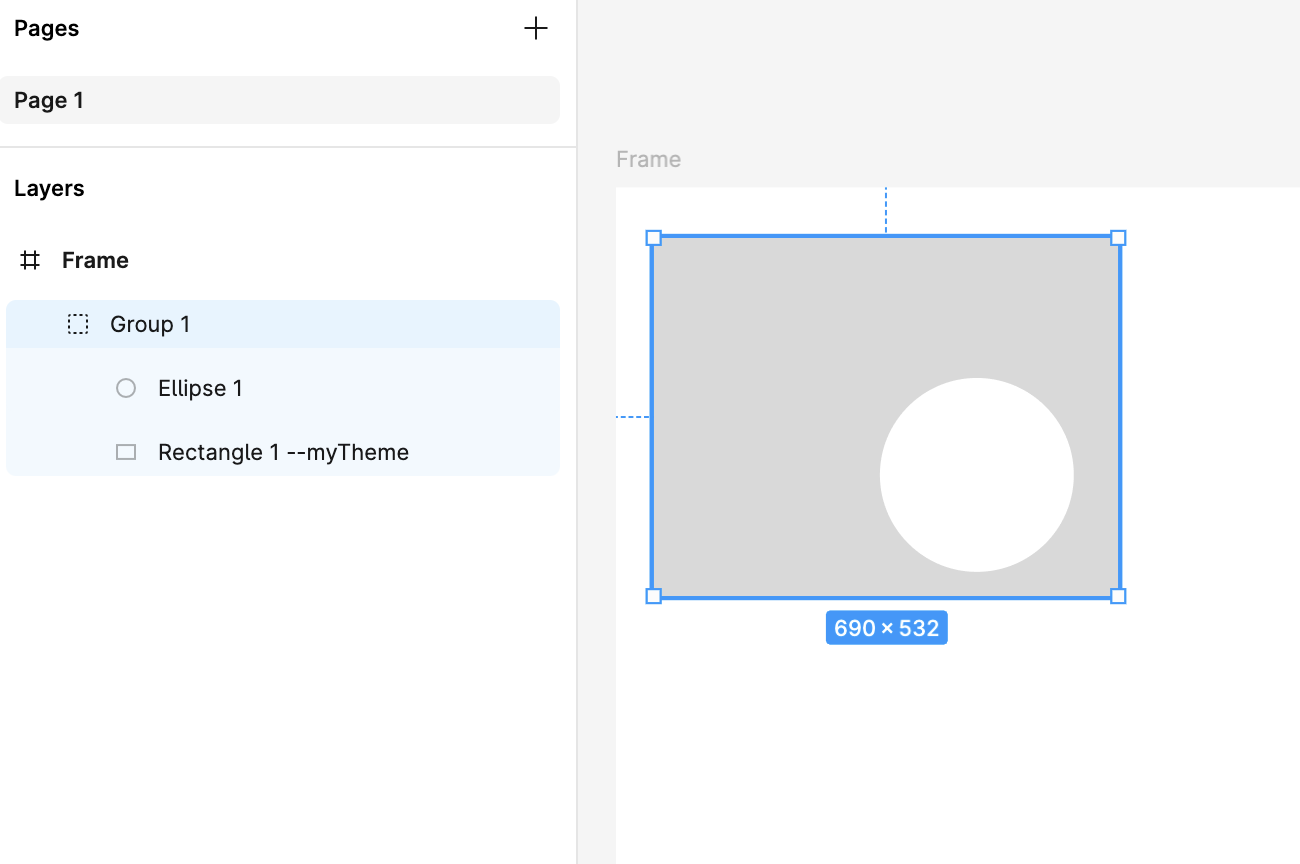
Define a CSS class for a Figma object (only if inside a group):
Add in the layer name your class name prepended with -- (double dash), such as
Rectangle 1 --myClass
In Presenta, in CSS panel, add a regular CSS class with the properties you want to modify, such as:
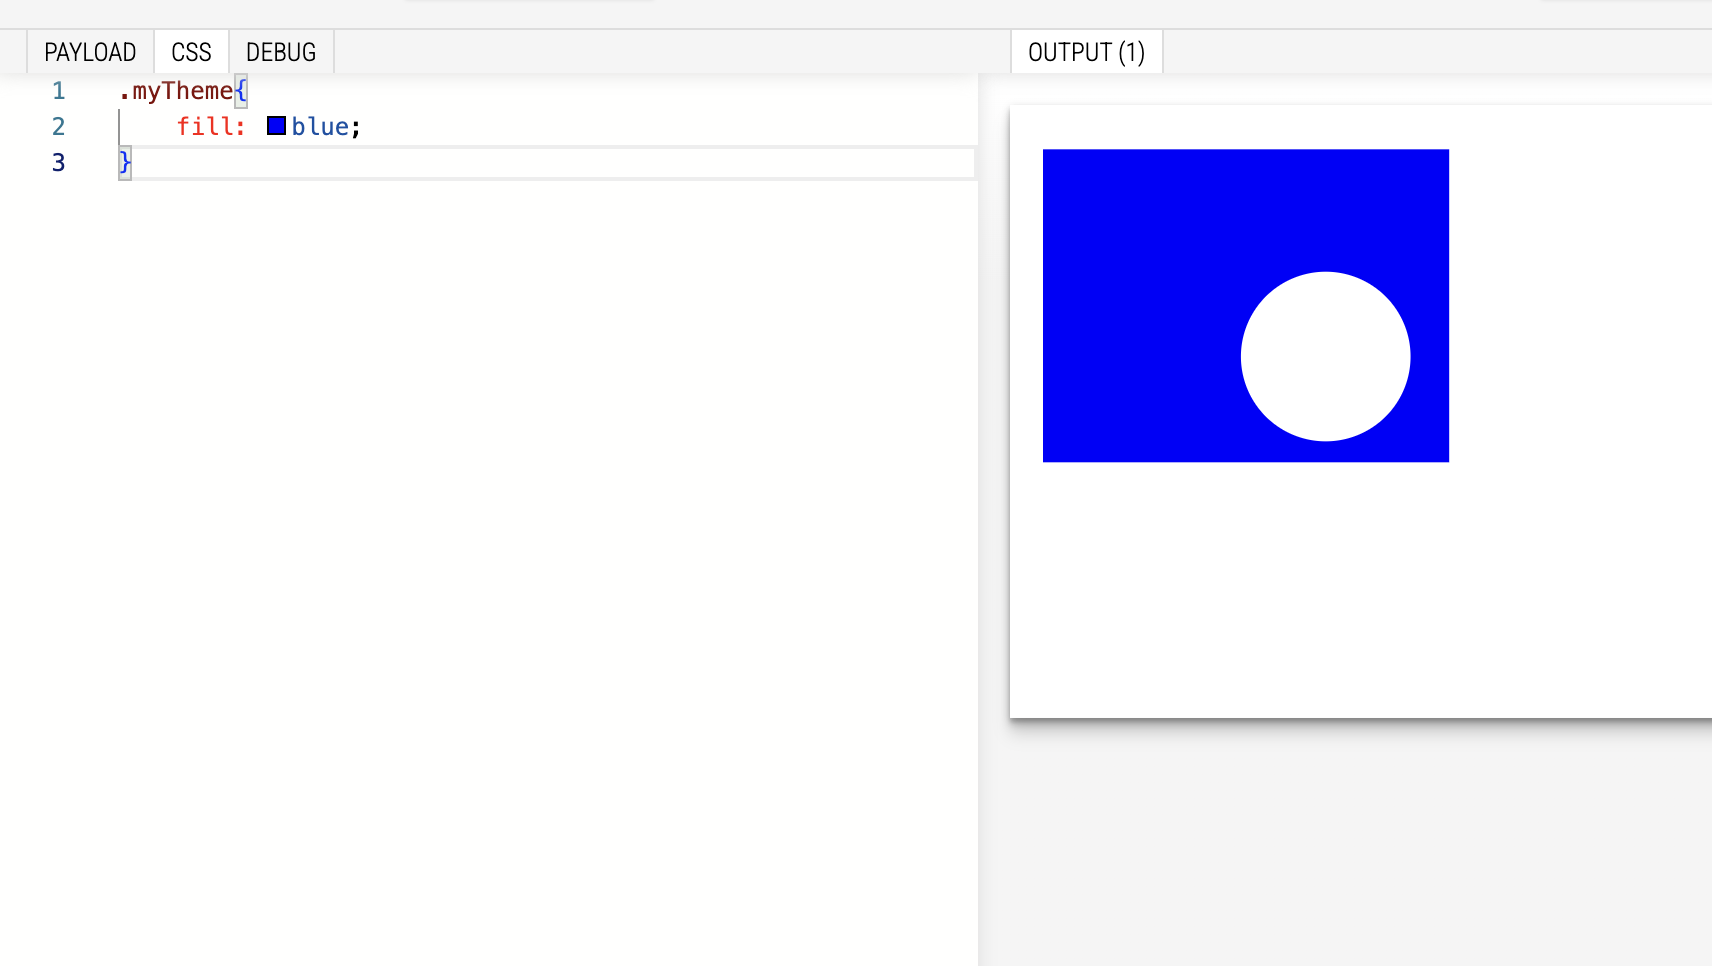
You can also make that color dynamic, as explained above, by using a merge tag:
.myTheme{
  fill: {{myColor}}
}
And in the payload:
{
  "myColor": "#00FF00"
}
Resize and Position an image inside an Image box
An image in Presenta is wrapped in a Image box. This allows some refinements through the CSS panel in order to fix possible issues when image size and ratio are not predictable.
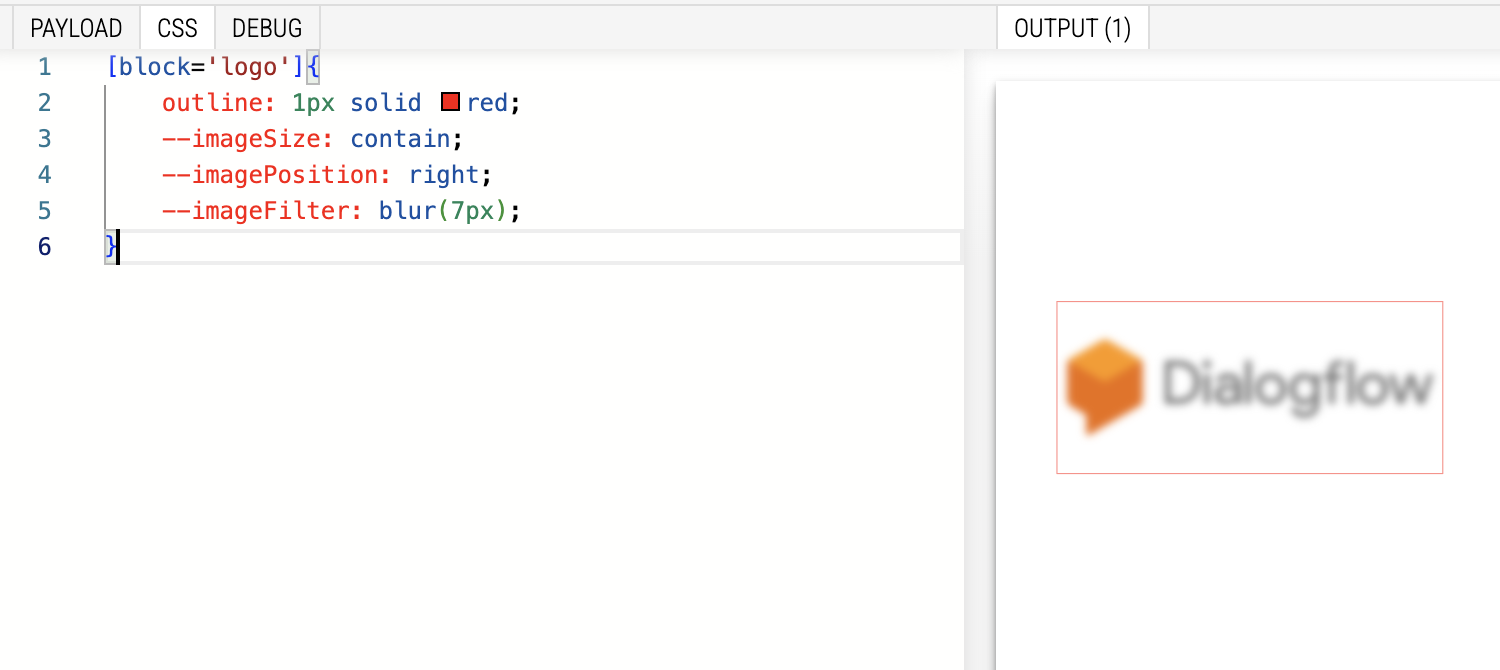
Suppose to have the following image box that contains a default image:
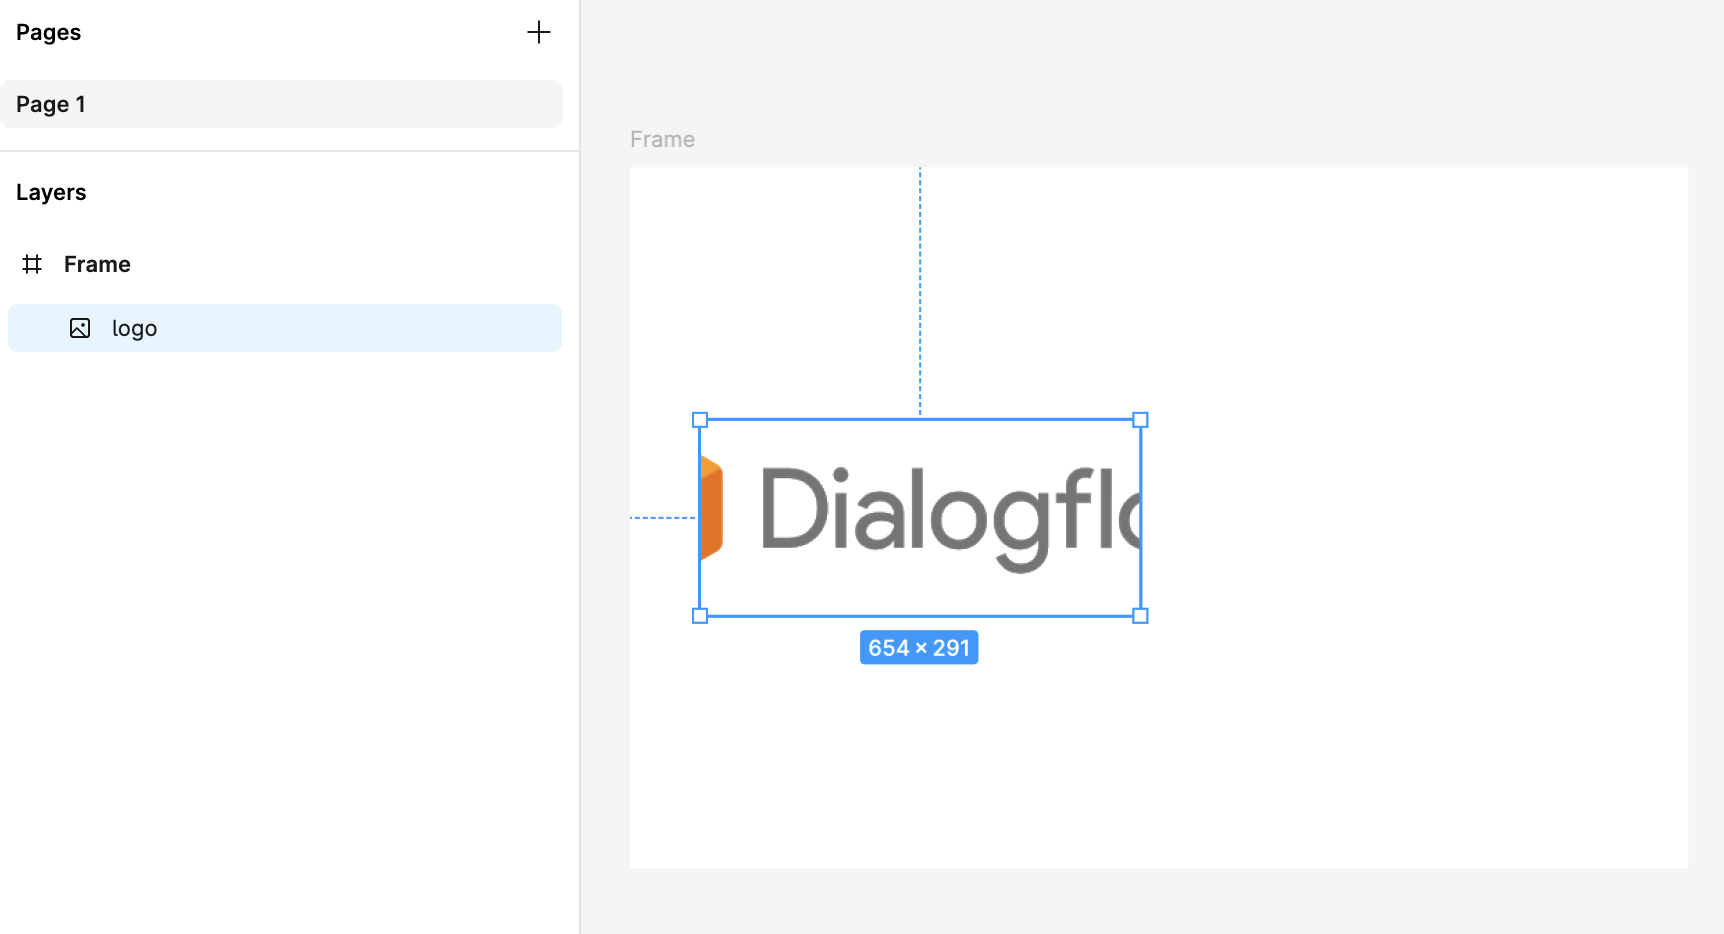
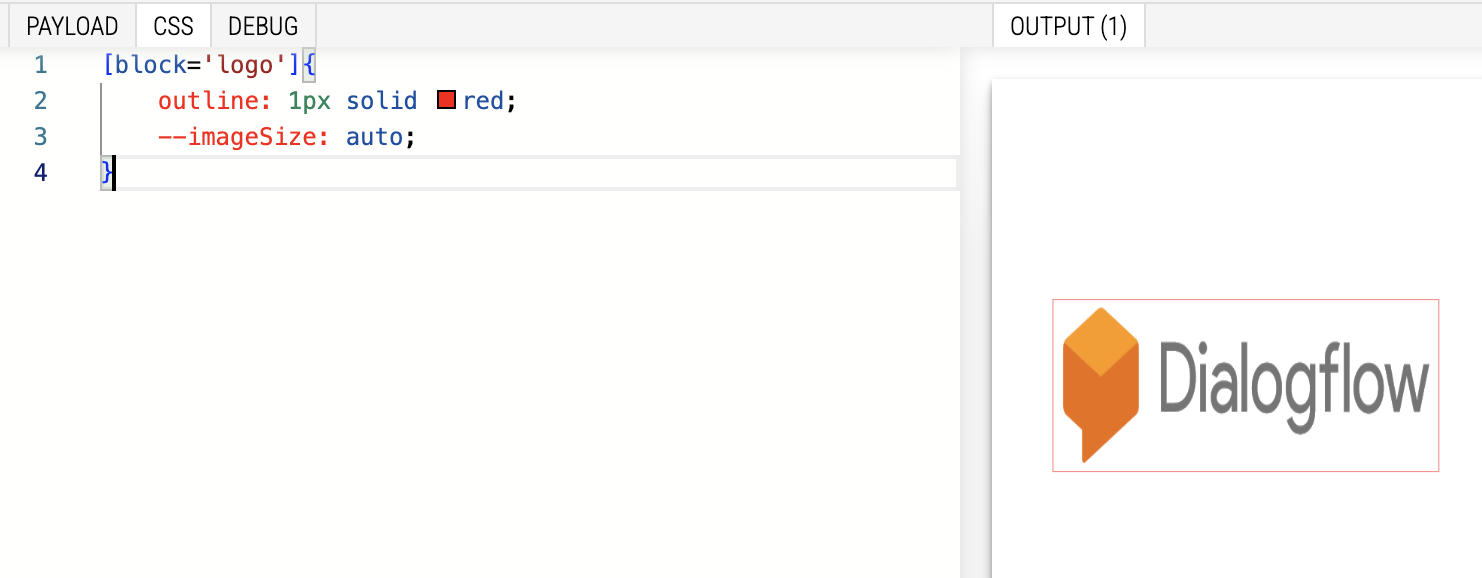
In the CSS panel we can exploit some pre-defined CSS variables in oder to change image resize, positions and also some filter effects.
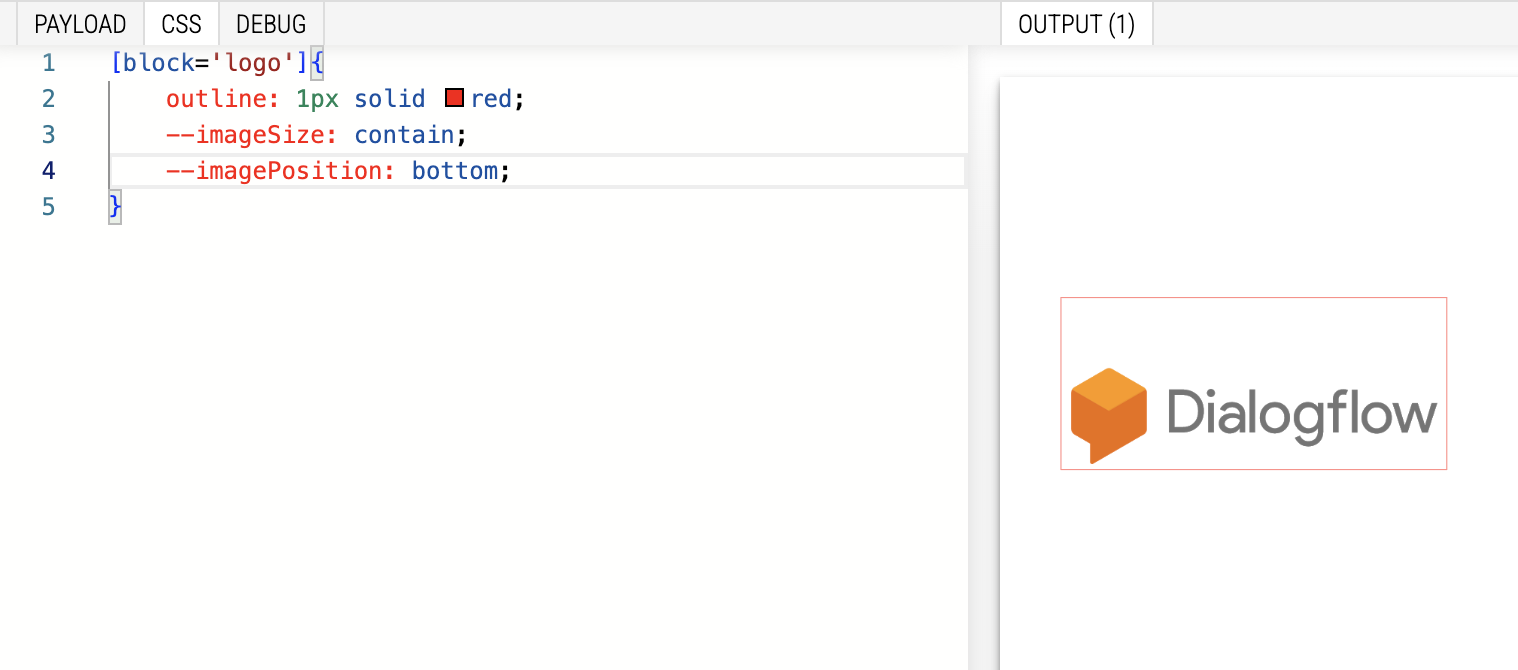
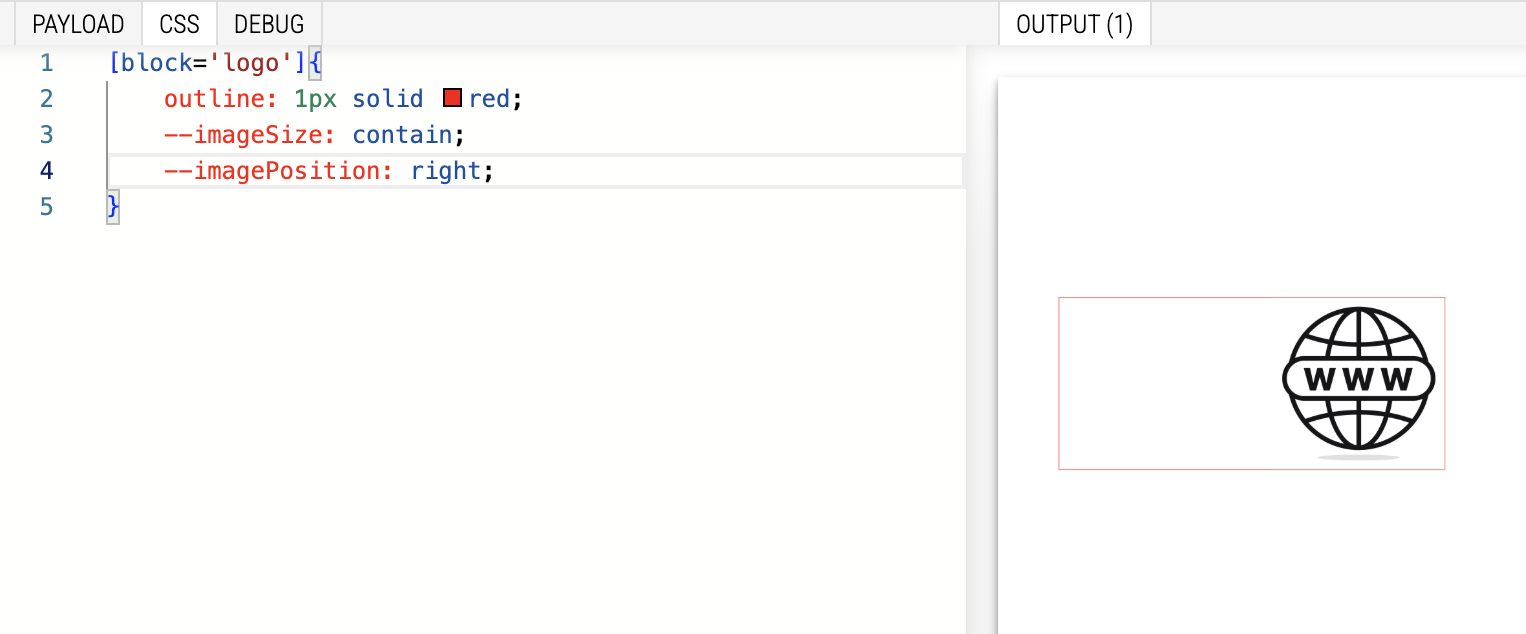
The following CSS variables can be set within the block selector:
--imageSize: cover|contain|auto;
--imagePosition: top|bottom|left|right;
--imageFilter: any CSS filter values
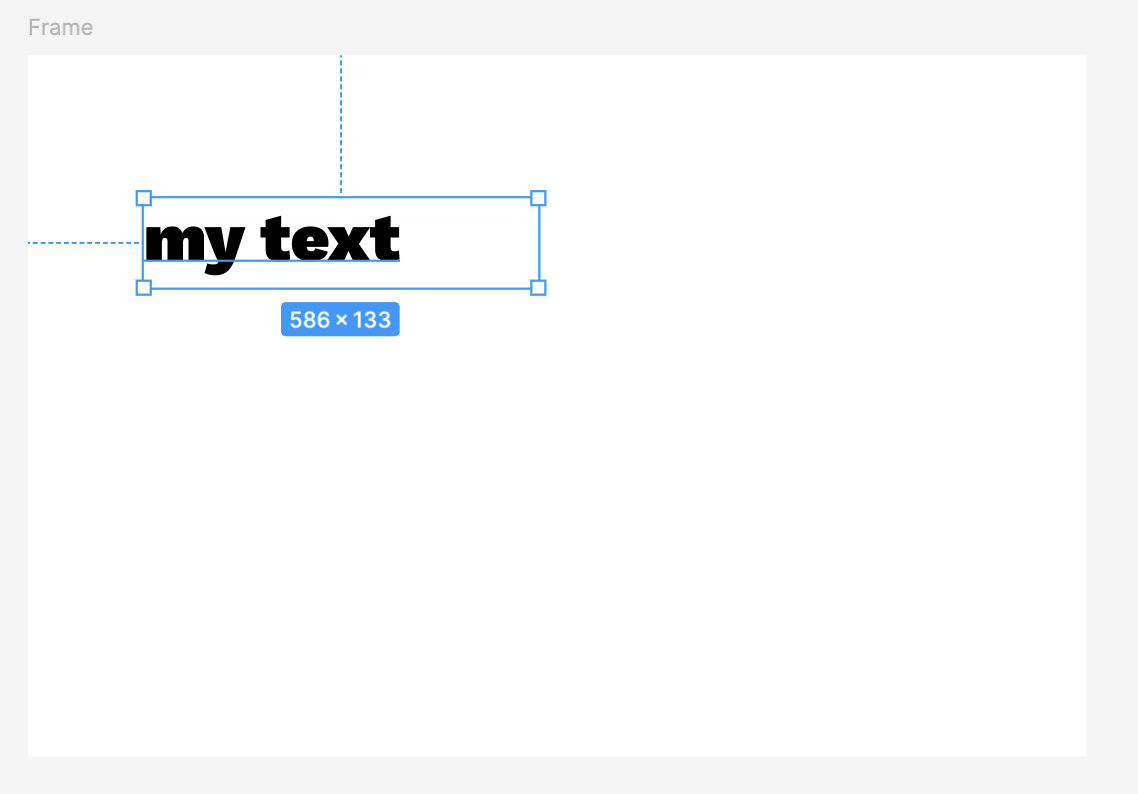
Why my text wrap from Figma to Presenta?
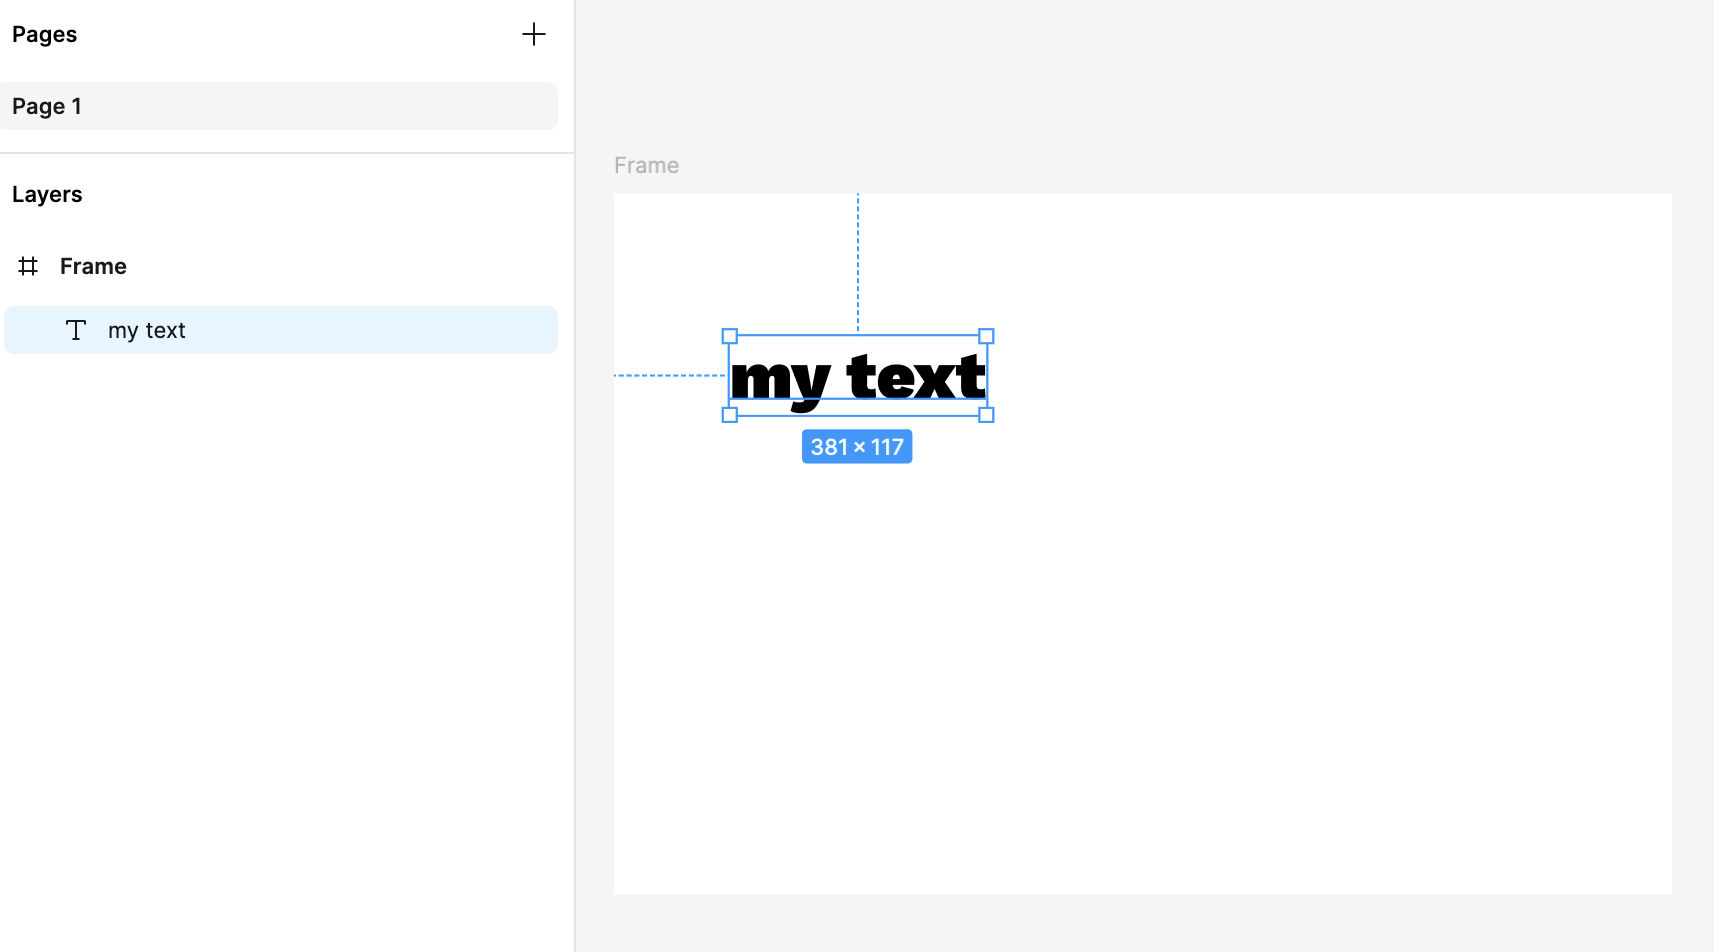
Text rendering can have little difference between Figma and Presenta.
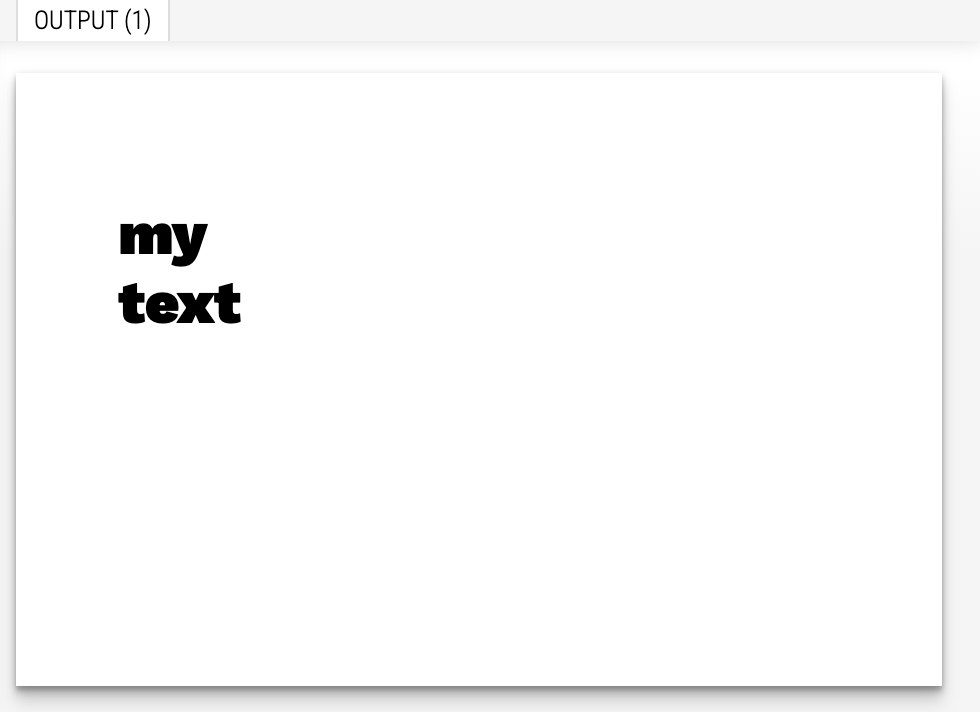
For that reason, a text box size in Figma might not be sufficient for the same text in Presenta.
The solution is to expand a bit the text box before convert it inPresenta.
Add a working LINK in PDF document
Note:
Actually you need to edit the Debug tab. We'll make it easier in upcoming releases.
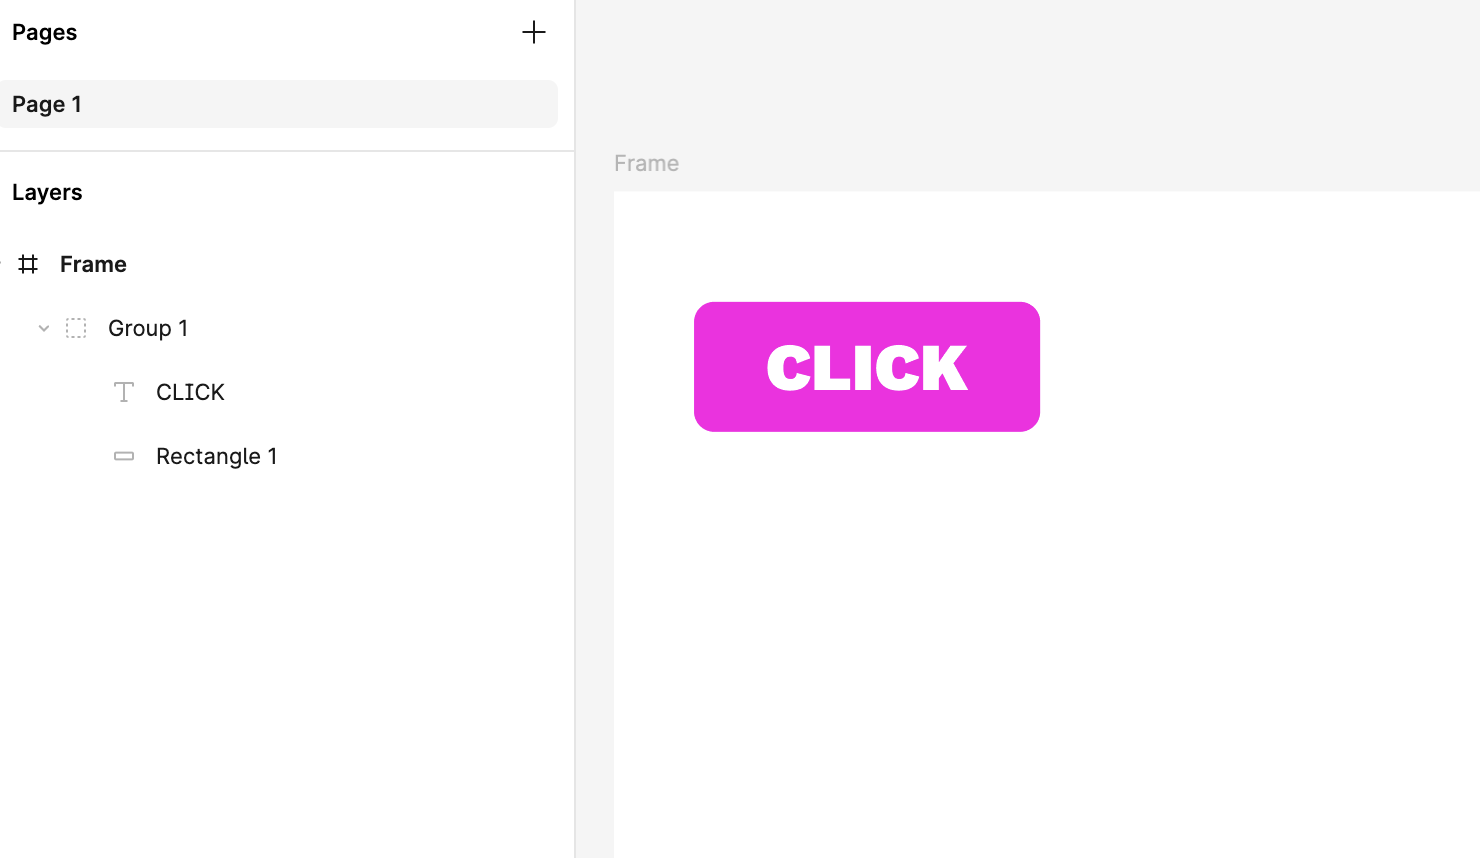
If you need to make an element clickable that bring to a webpage inside your rendered PDF, here how to do it. It's a bit hackish, but doable. Let's suppose this "Group 1" element need to be clickable:
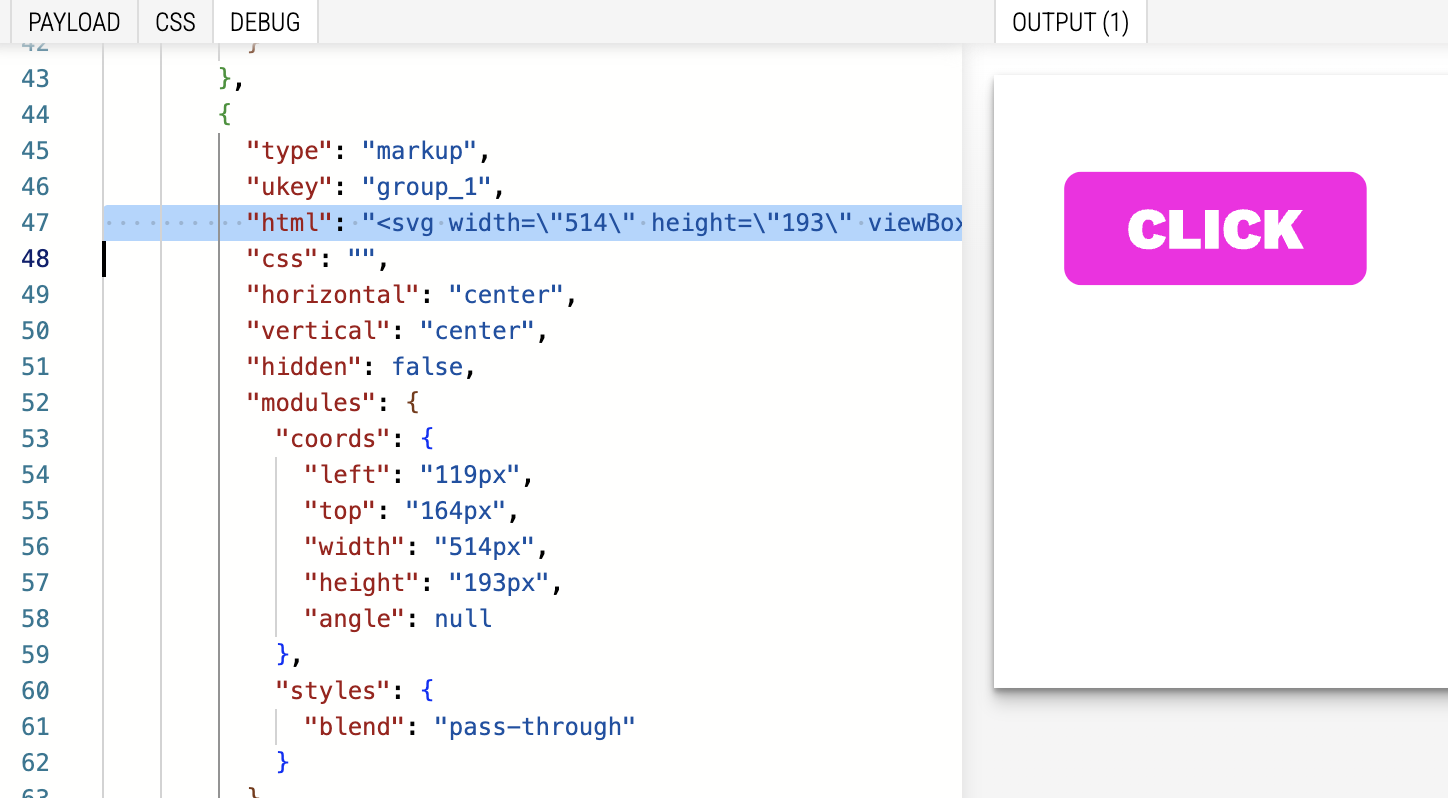
Go to Debug tab and find the block where is the element you want to link to:
{
  ...
  html: '<svg><....>'
}
And wrap it with an HTML a tag:
{
  ...
  html: '<a href="https://www.google.com"><svg><....></a>'
}
Now, your template can link to an external website.
You can also use a merge tag instead a static url too:
{
  ...
  html: '<a href="{{myDomain}}"><svg><....></a>'
}
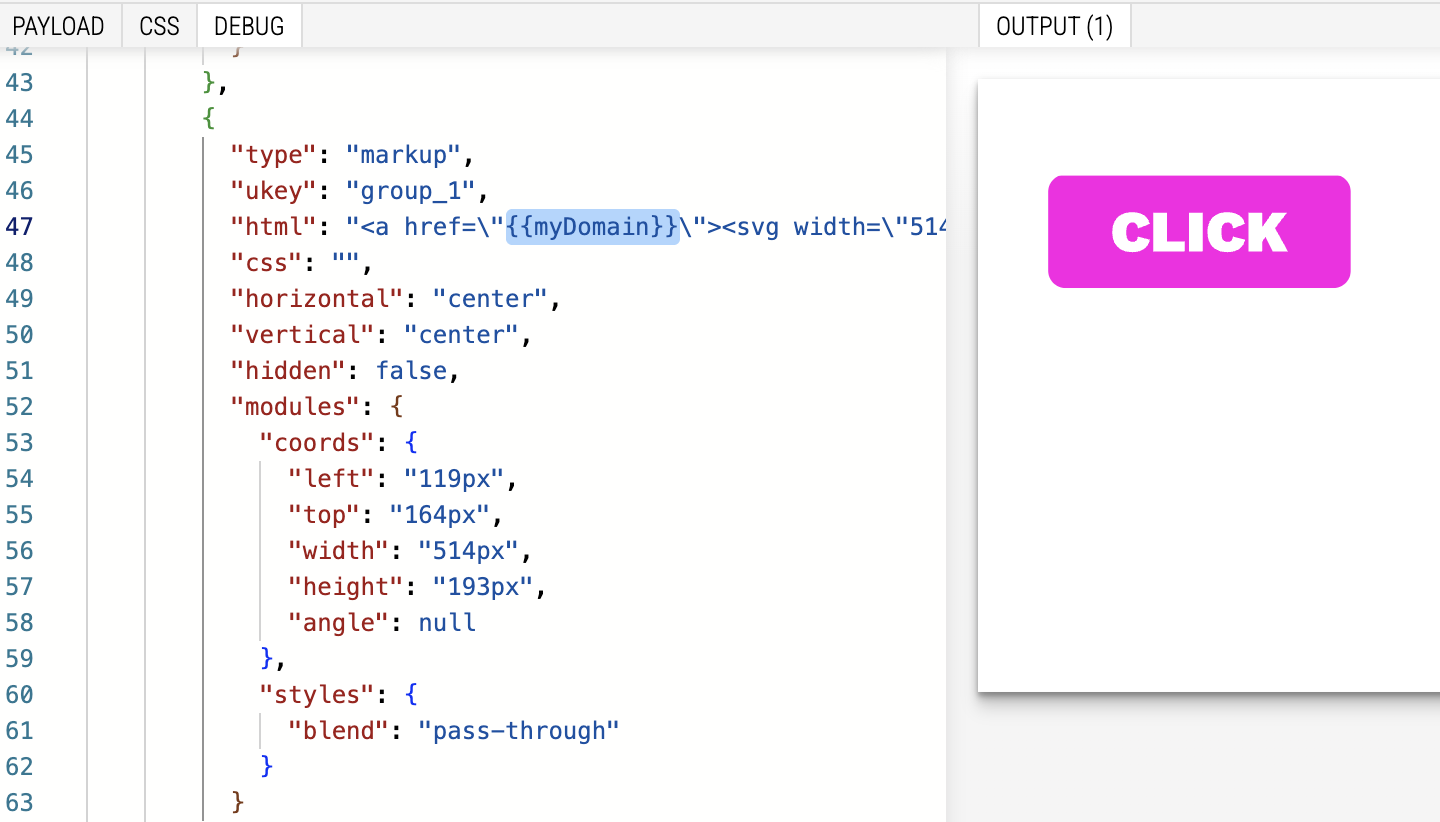
So, in the payload you can change it dynamically with this, note the f2a_exportPurePDF property added:
{
  "myDomain": "https://www.presenta.cc",
  "f2a_exportPurePDF": true
}
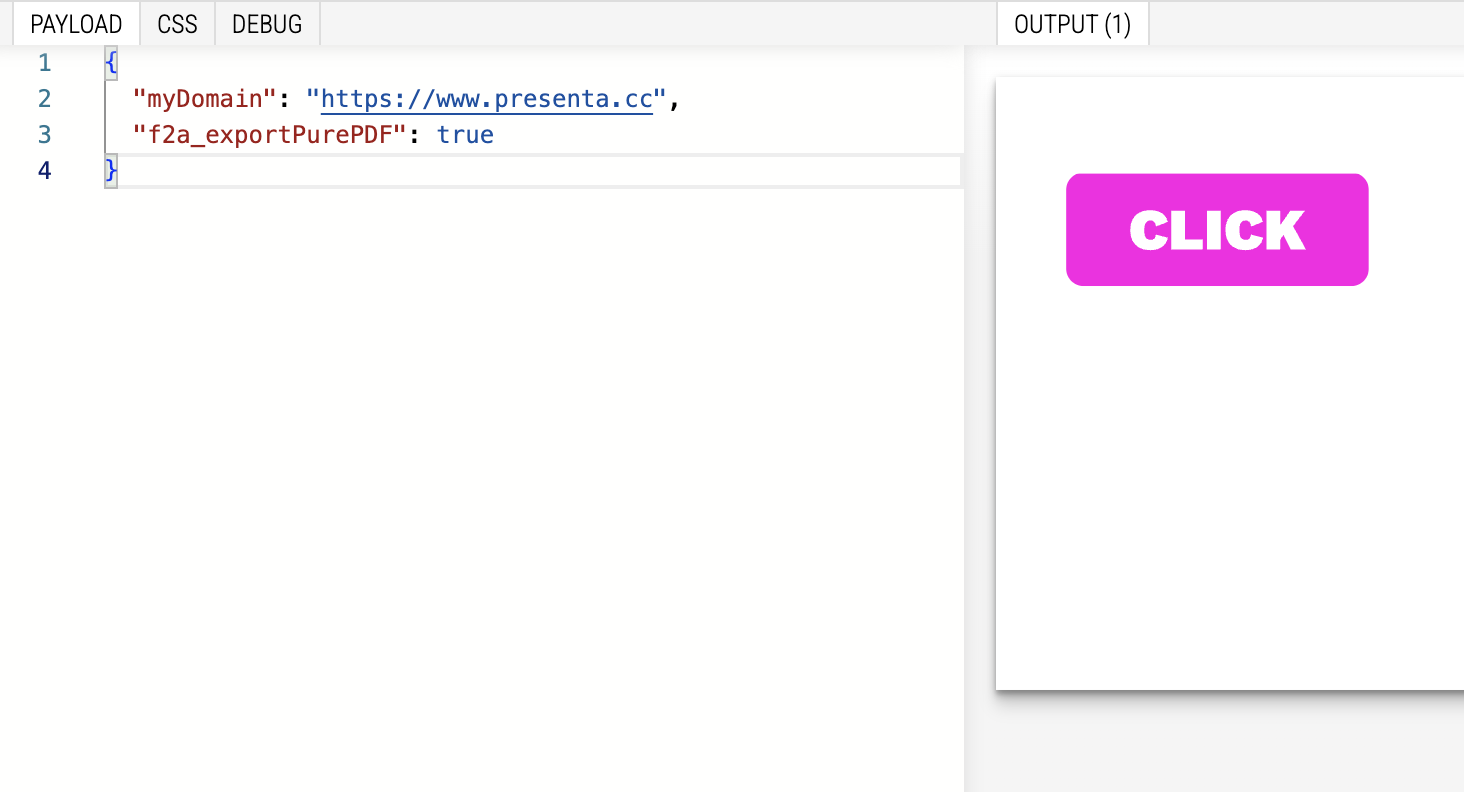
Now, open the PDF and test the click:
